
The Essential Toddler T-Shirt Pattern & Free Video Tutorial
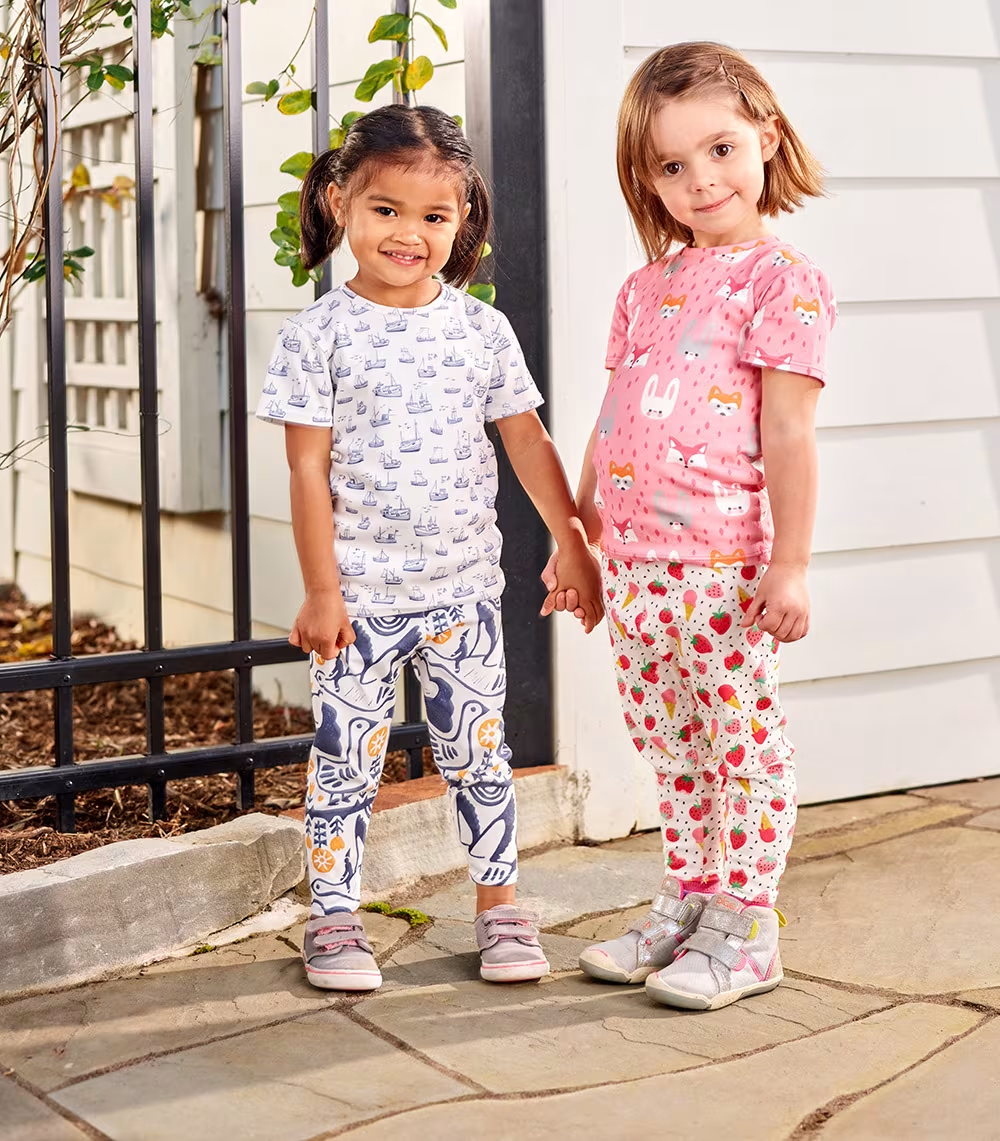
Searching for something to keep your little one stylish AND comfortable? This toddler t-shirt pattern and tutorial are guaranteed to make everyone happy. These are a cinch to sew up, and you can customize them to your child's style. Pair with these toddler leggings for the ultimate comfy and crafty outfit. Check out the video tutorial below, or jump down to follow along with the step-by-step guide.
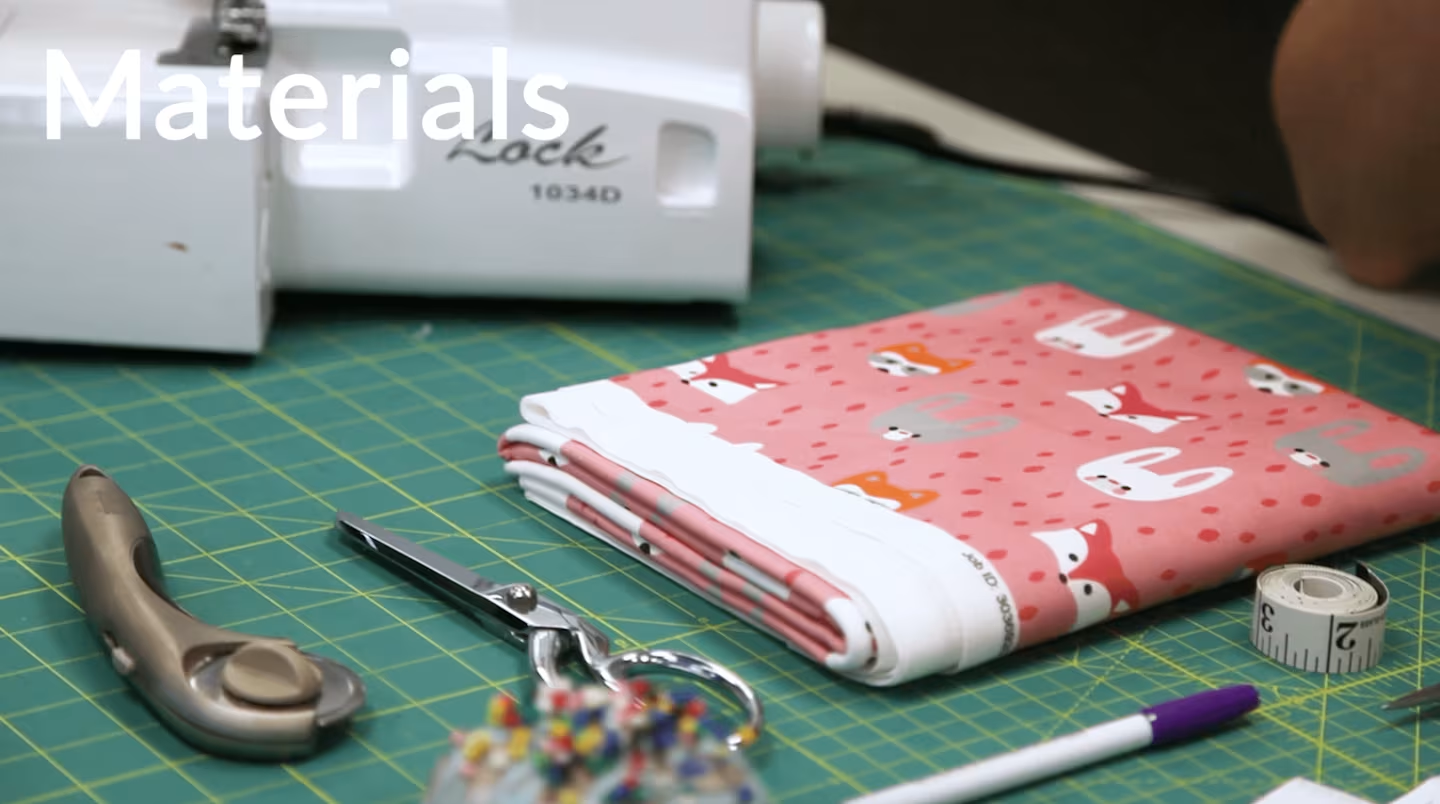
Materials Needed
- 1 yard of Organic Cotton Knit (you could also use Cotton Spandex Jersey, Modern Jersey or Sport Piqué)
- Free digital pattern (available in sizes 2T-5T, seam allowances included in the pattern and specified with each corresponding step below)
- Fabric scissors or rotary blade
- Sewing machine (optional: Serger)
- Measuring tape
- Fabric pen
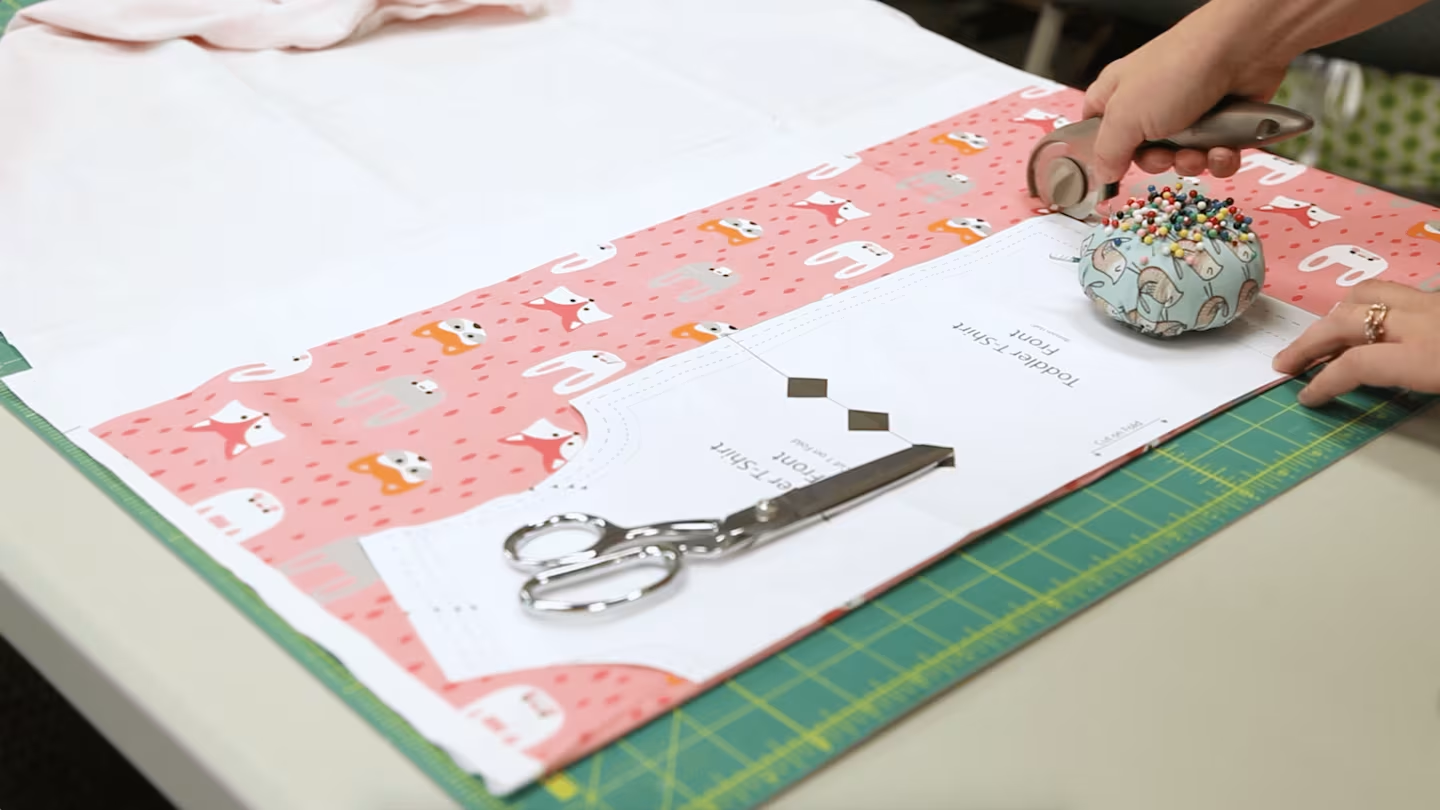
Step 1. Cut pattern pieces for your preferred size
Fold your fabric in half, matching up the two selvage edges. Trace the front and back shirt pieces on the fold and cut them out. Cut out two sleeves and one neck band on the fold from the rest of the fabric sleeves and armband pattern pieces. Pro tip: Neckband option 1 is for a jersey knit or ribbing. Neckband option 2 is suitable for knits with a little less stretch like Organic Cotton Knit.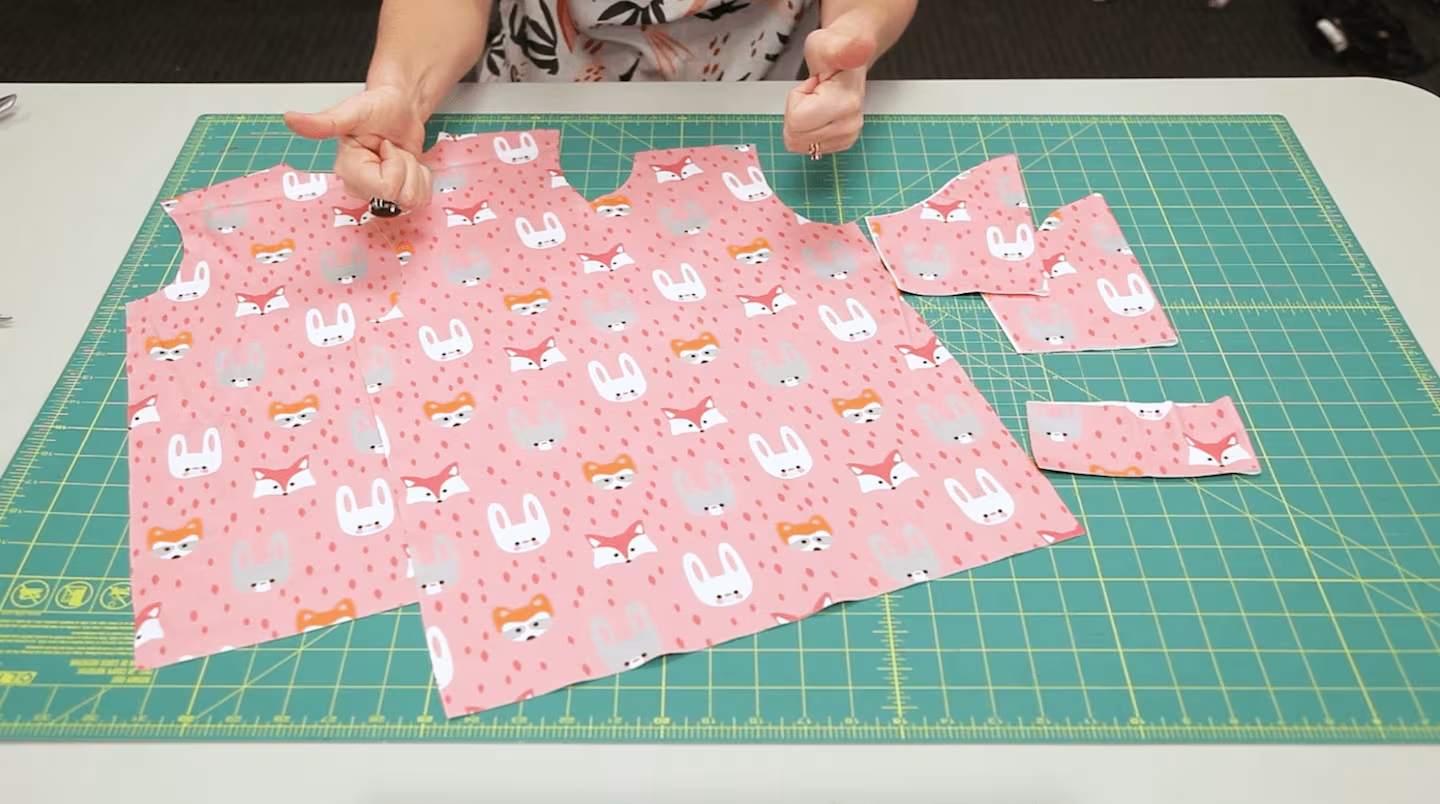
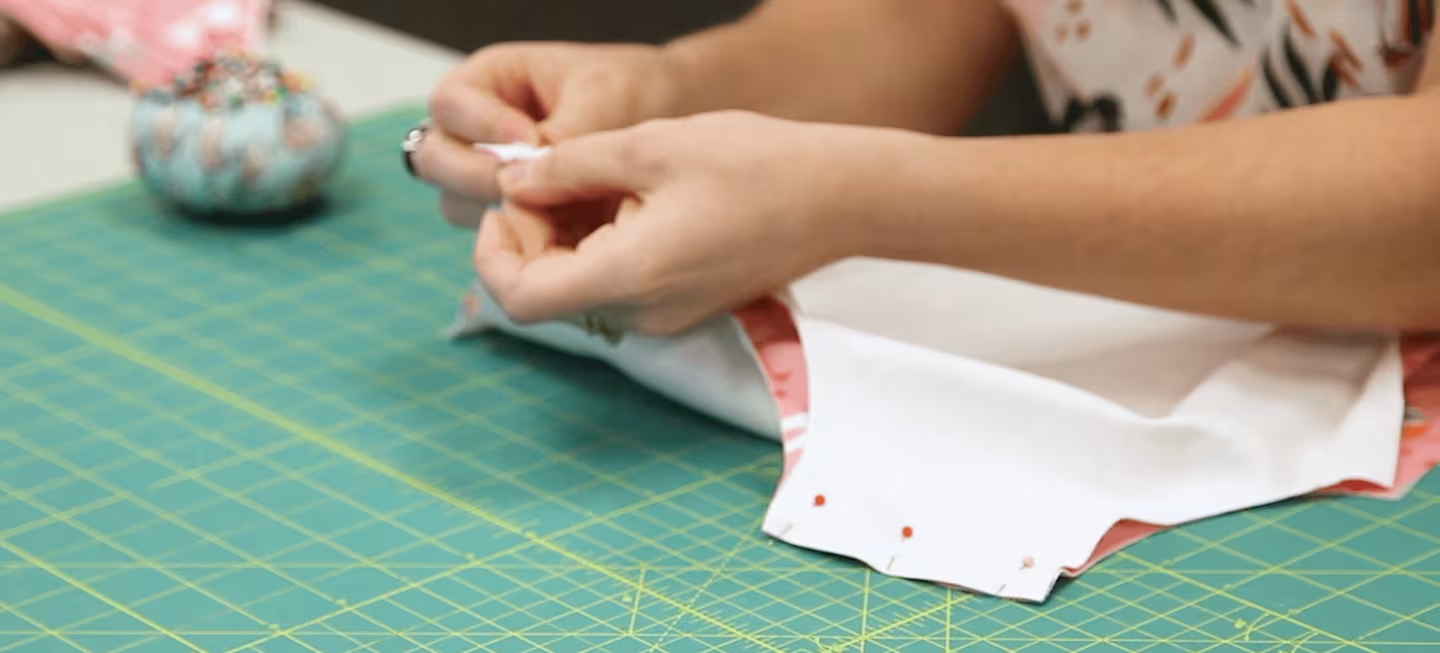
Step 2. Pin the shirt front and back pieces
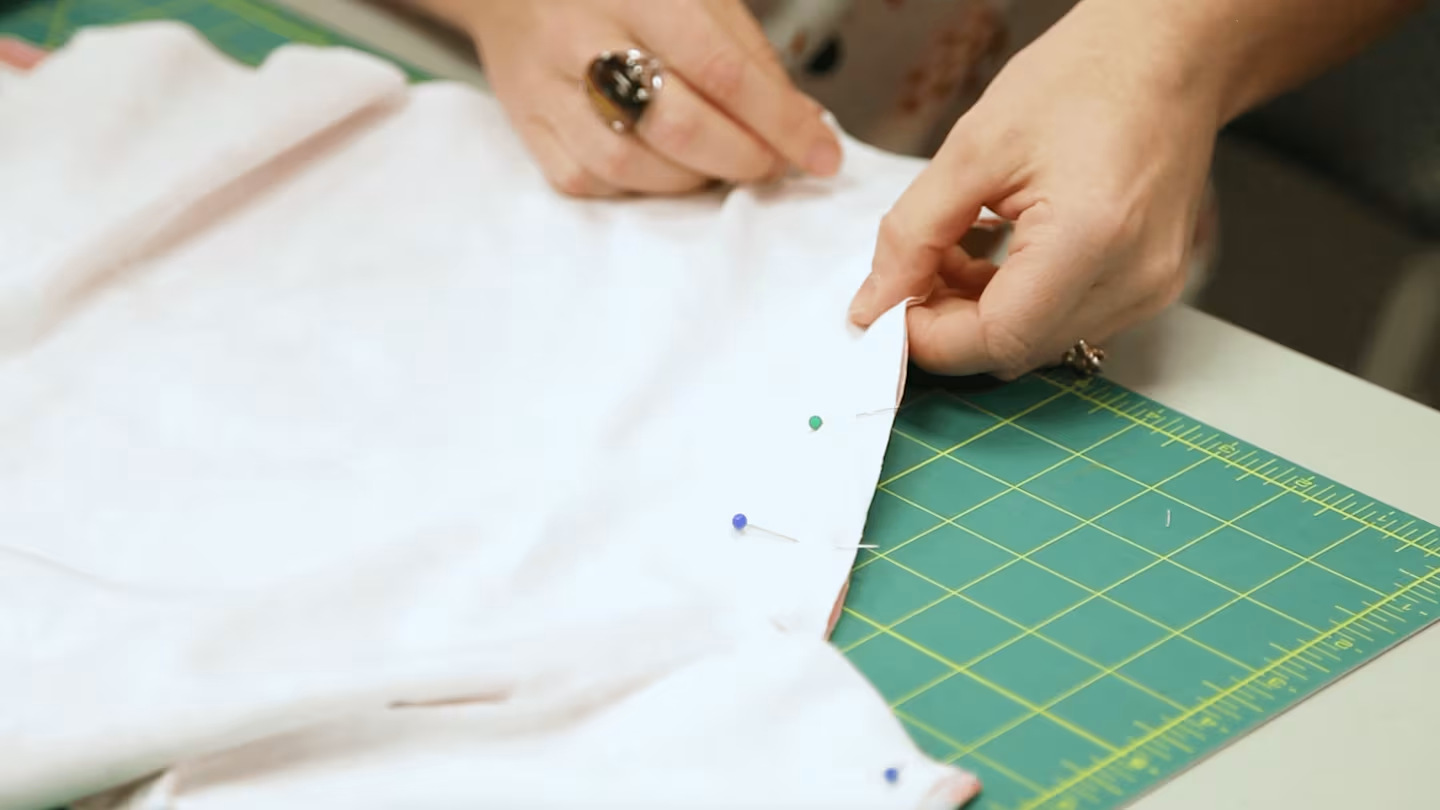
Pin the shirt front and back pieces at the shoulder seams with right sides facing. Since we're sewing with a knit fabric, you'll want to use a zigzag stitch and ballpoint needle throughout. Sew the shoulder seams together using a 5/8" seam allowance. Press the seams open.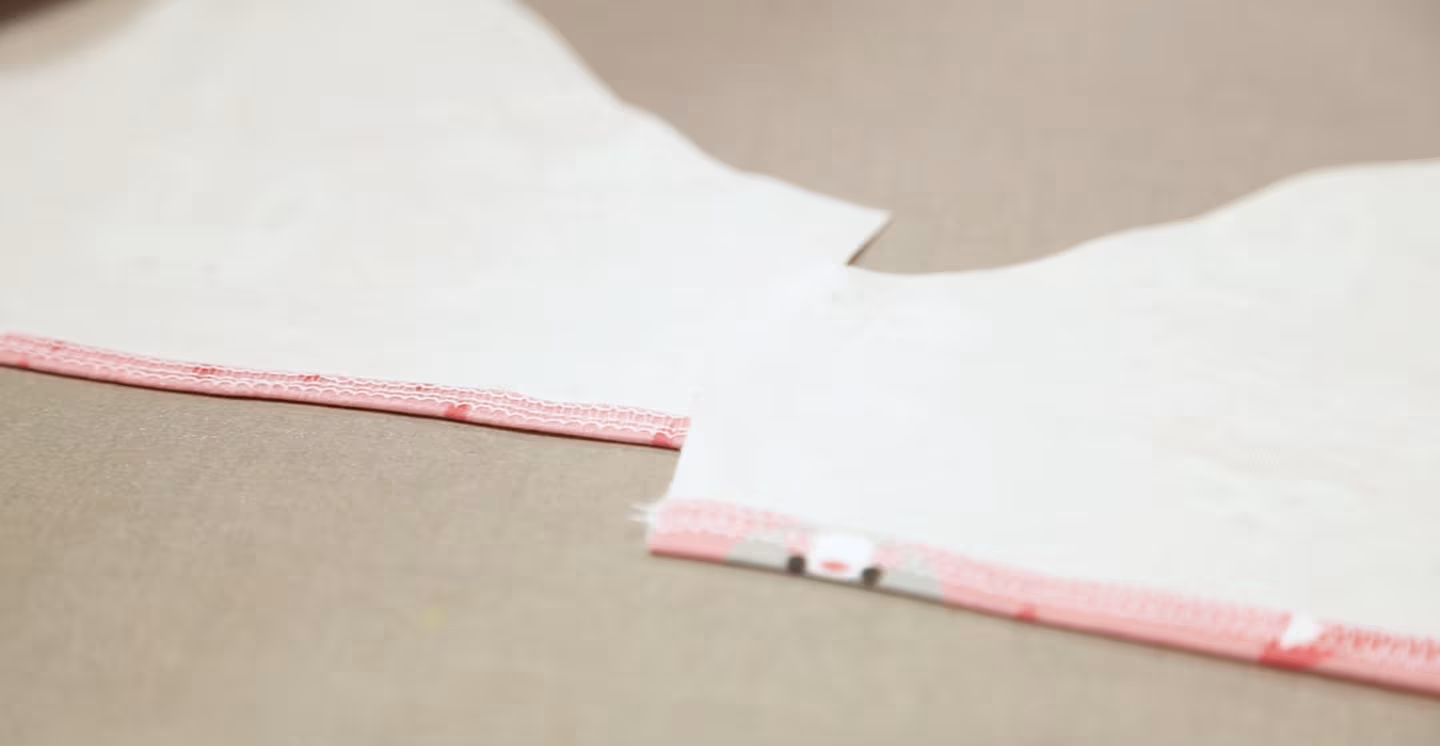
Step 3. Prepare the sleeves
Fold the flat edge of the sleeve in about 1/4" and again another 1/4". Stitch to hem.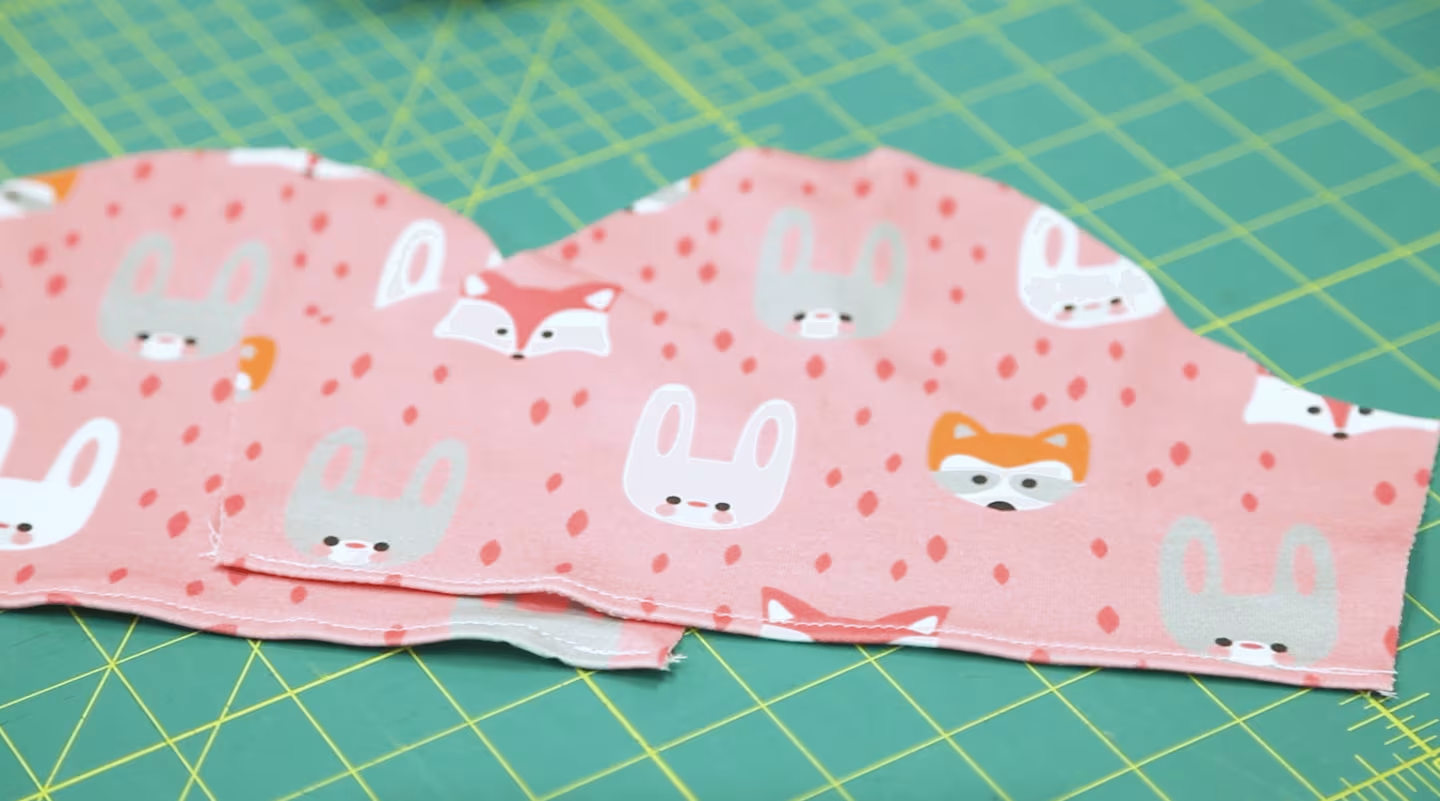
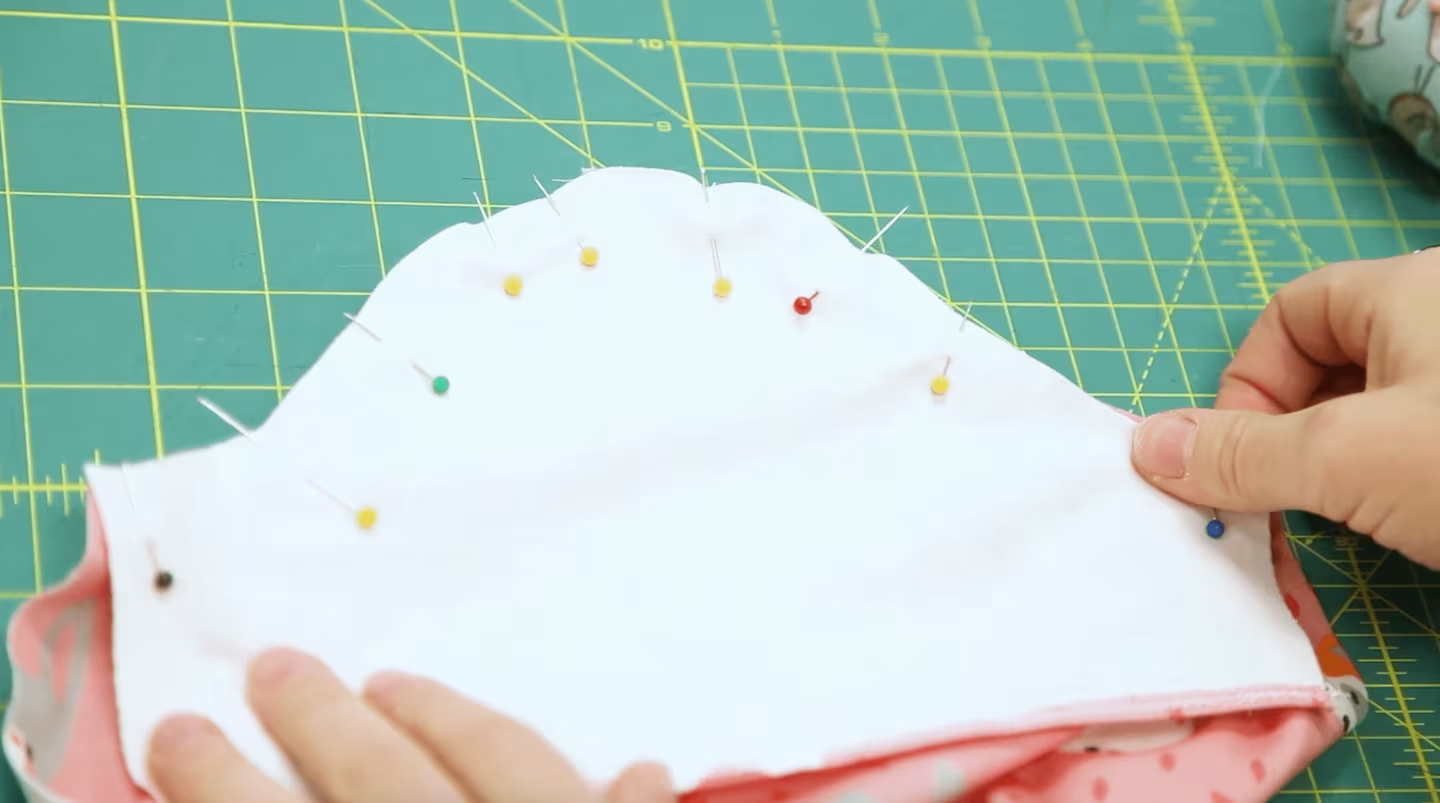
Step 4. Match the top center of the sleeve curve to the shoulder seam
Pin the sleeves to the shirt armholes with right sides facing. Stitch together using 1/4" seam allowance.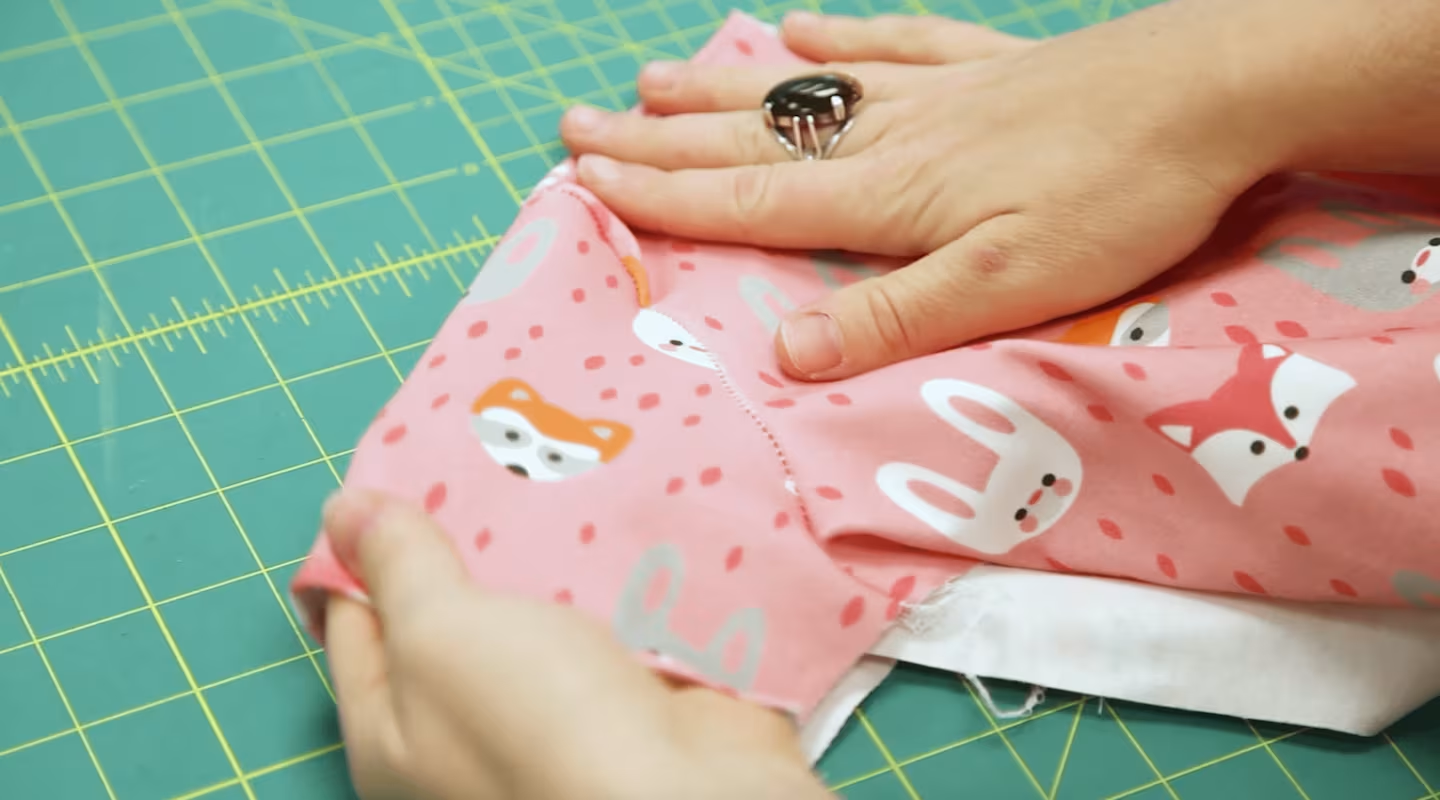
Step 5. Sew the side seams
Sew the side seams by pinning the shirt front and back pieces together with right sides facing all the way up through the sleeve openings. Then sew from the sleeve opening to the bottom of the shirt at 5/8" seam allowance. Press the seams open.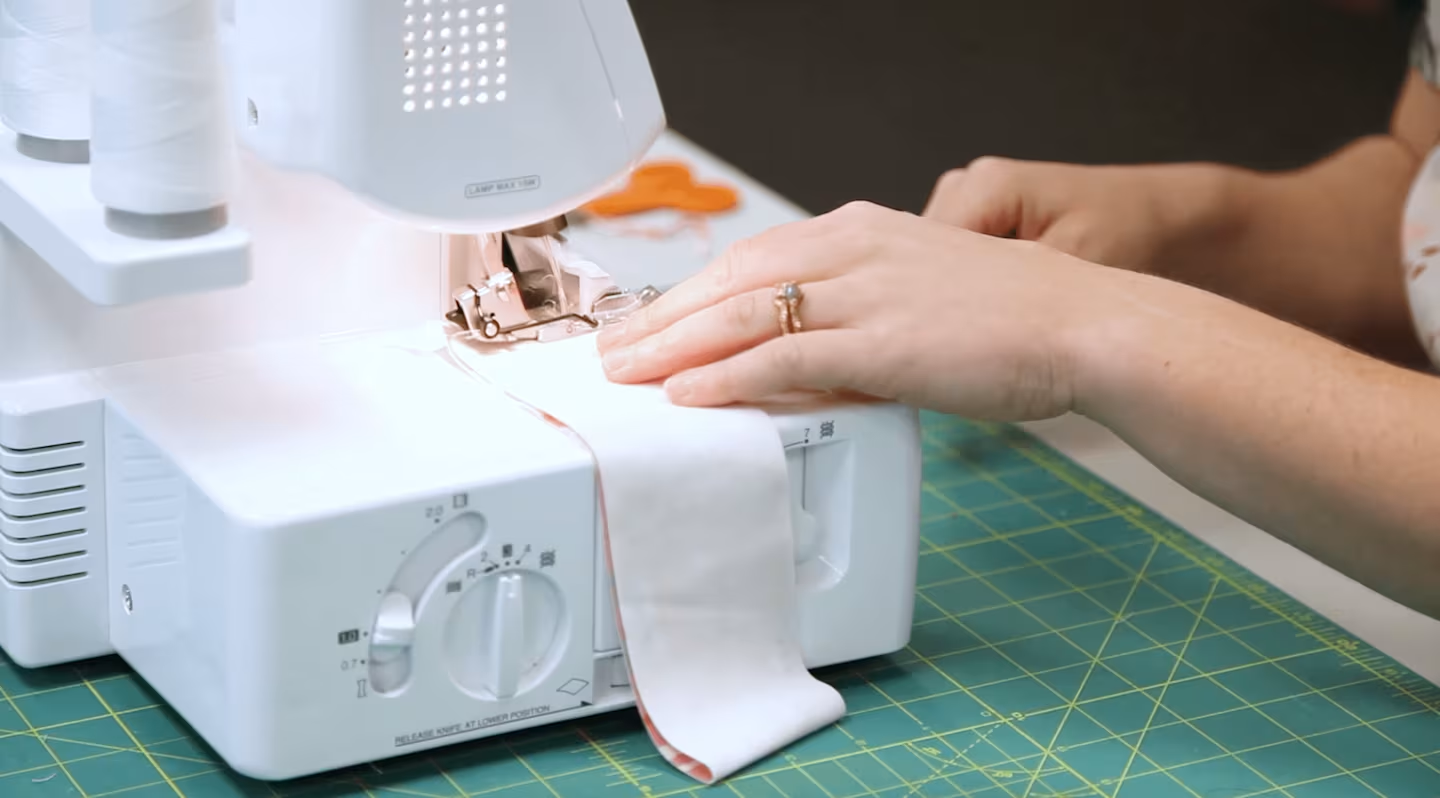
Step 6. Prepare the neckband
Fold the fabric in half lengthwise with right sides together. Sew the raw edge with a 5/8" seam allowance.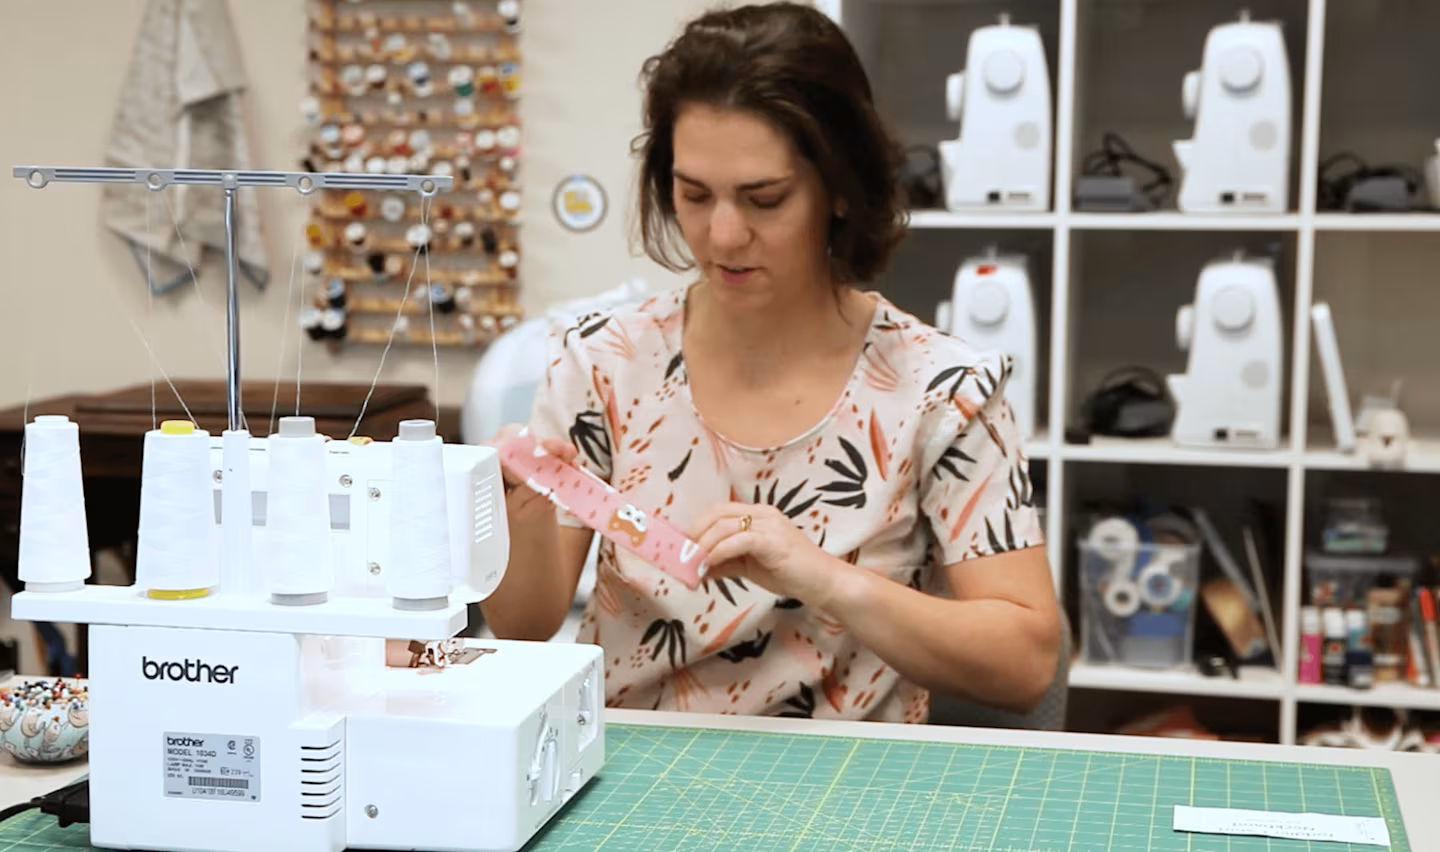
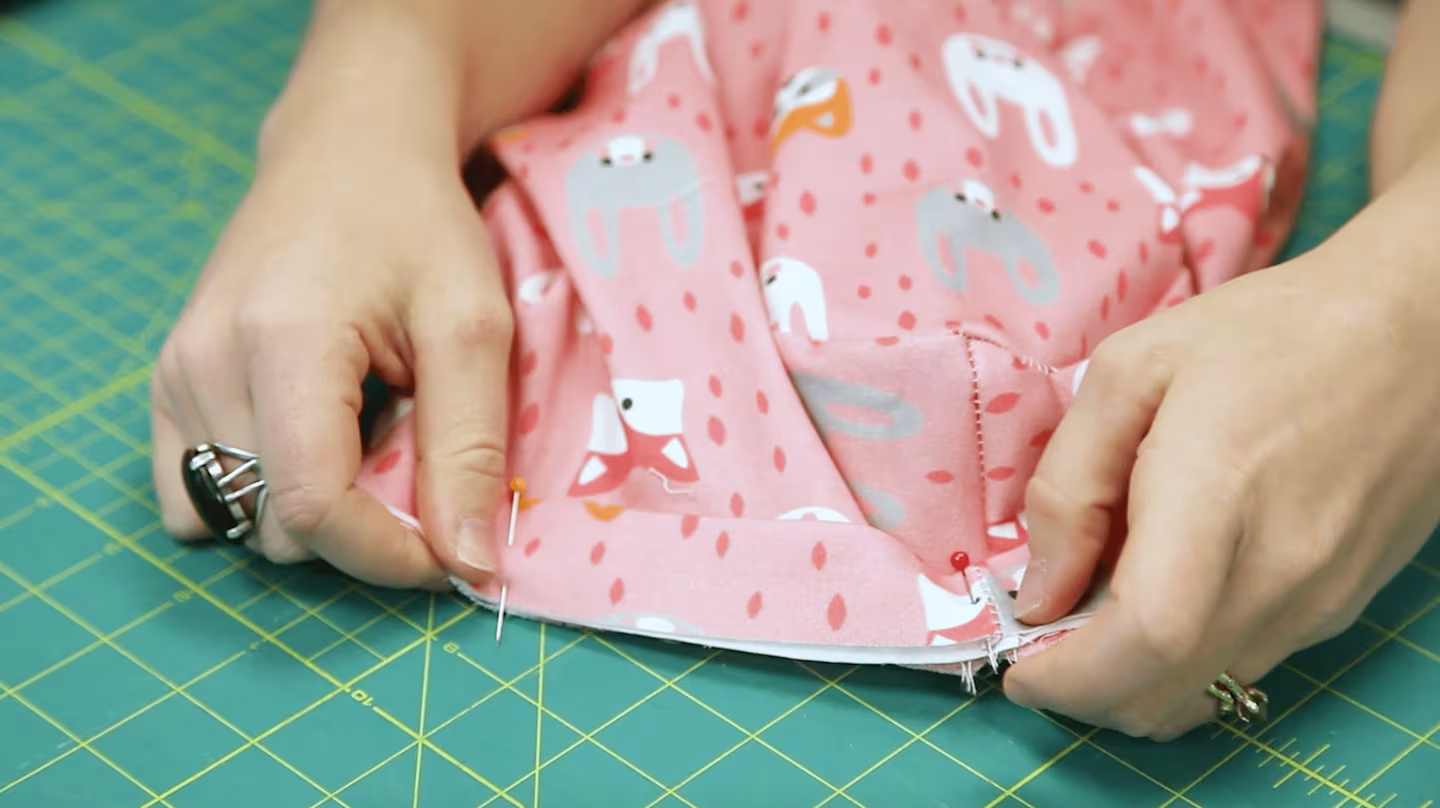
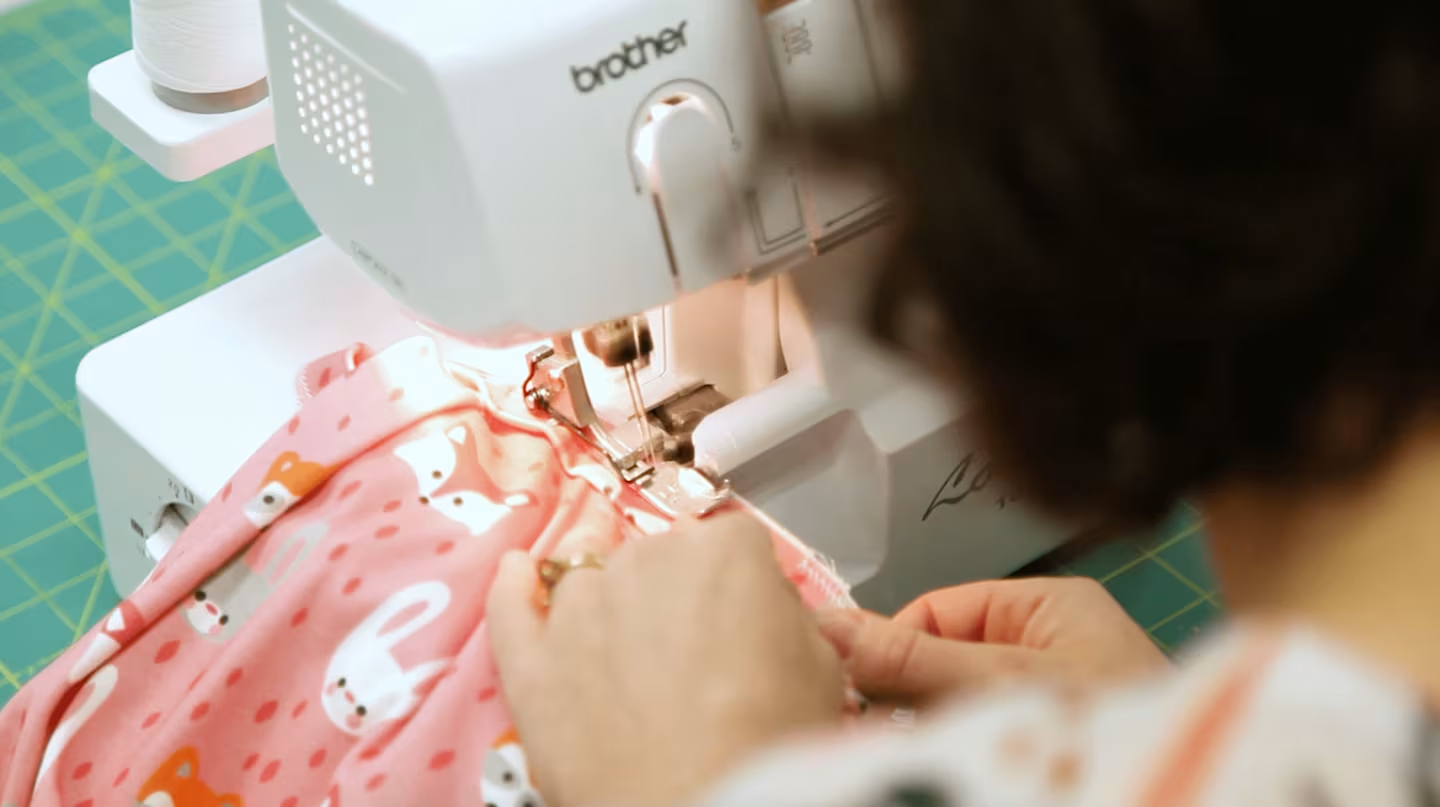
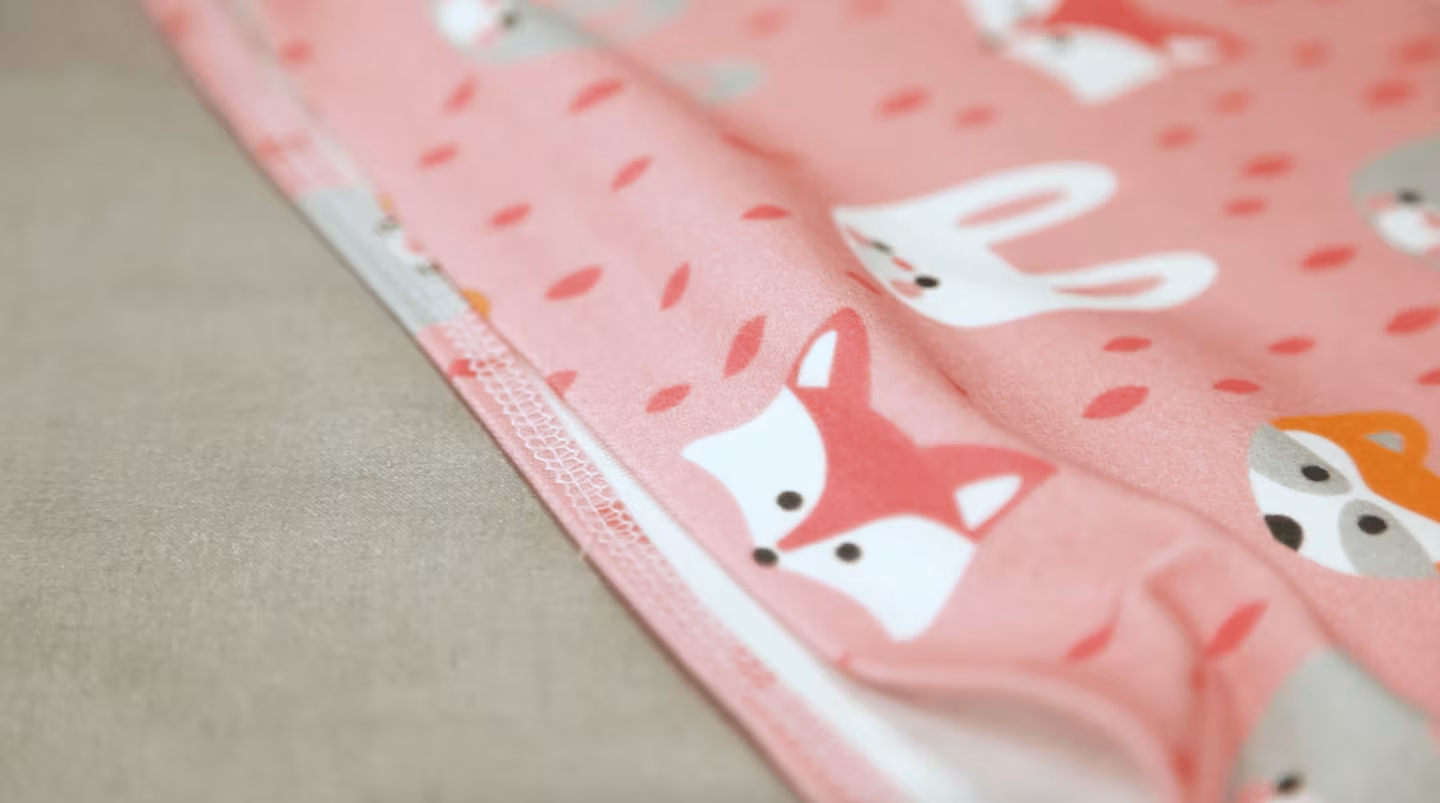
Step 7. Hem the bottom of the shirt
Hem the bottom of the shirt by folding the unfinished edge in about 1/4" and again another 1/4". Top stitch around the edge. And you're done! Don't forget to sew up a coordinating pair of toddler leggings so you can gift an adorable outfit to an adorable baby.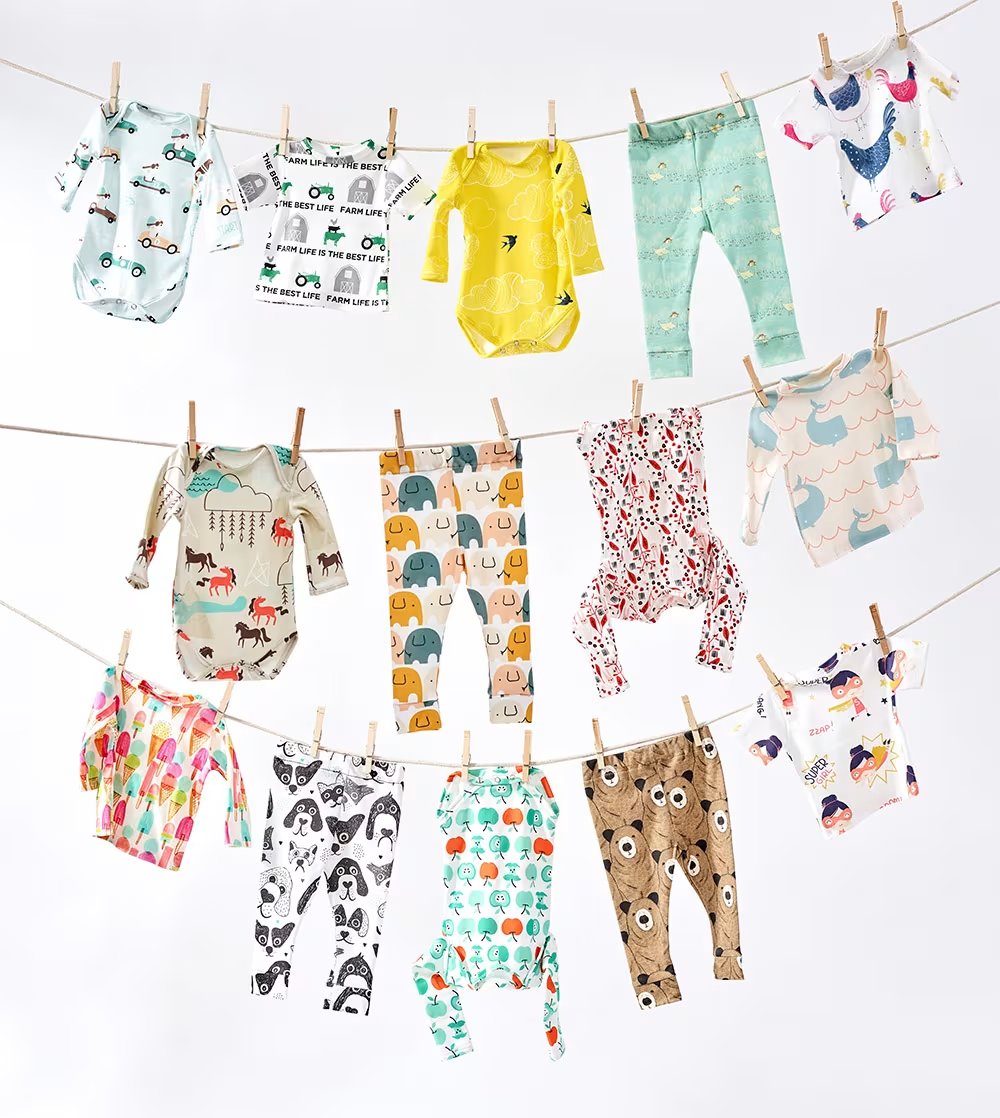
Made to order using unique designs from artists worldwide.
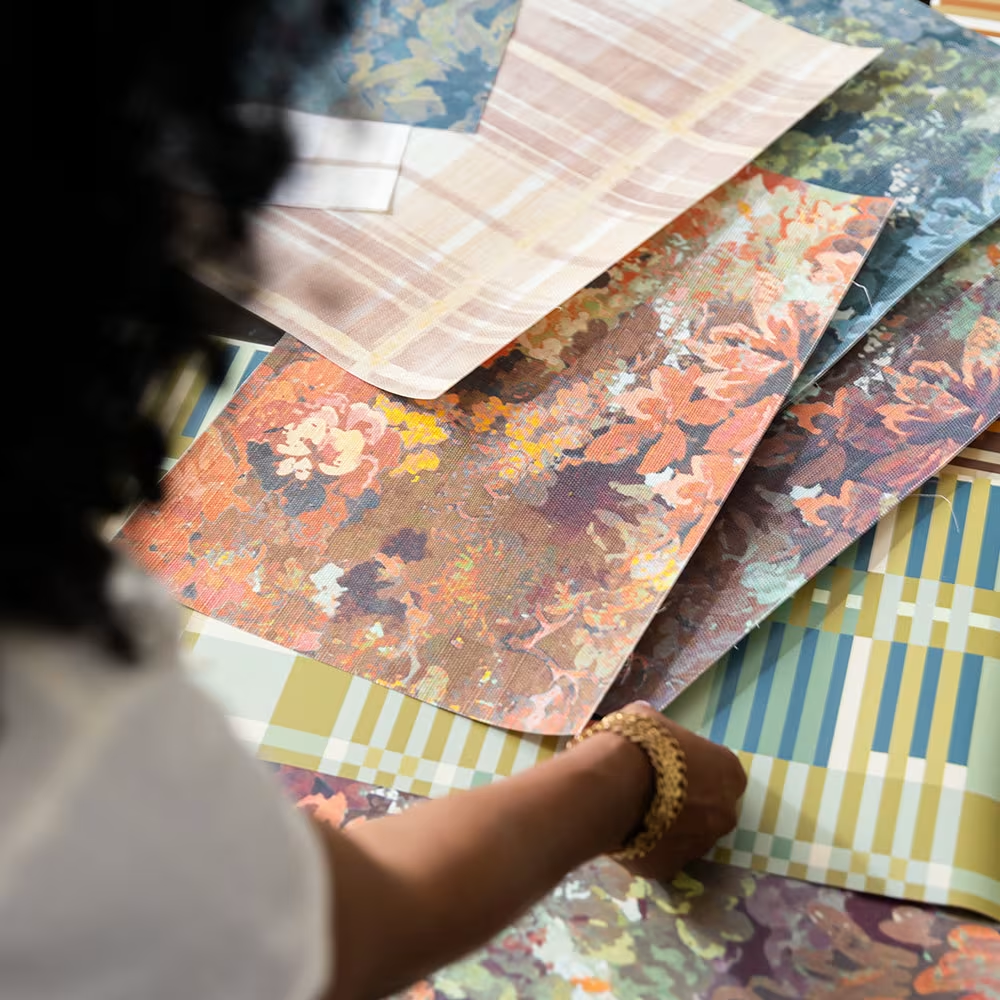
The World’s Largest Design Library for Wallpaper and Textiles
Discover a world of design—from minimalist to maximalist. Thousands of global artists, with new styles added constantly.

Custom Designs on Any Item
Our made-to-order model lets you print any design on any material. Coordinate patterns across rooms for a cohesive, personalized home.
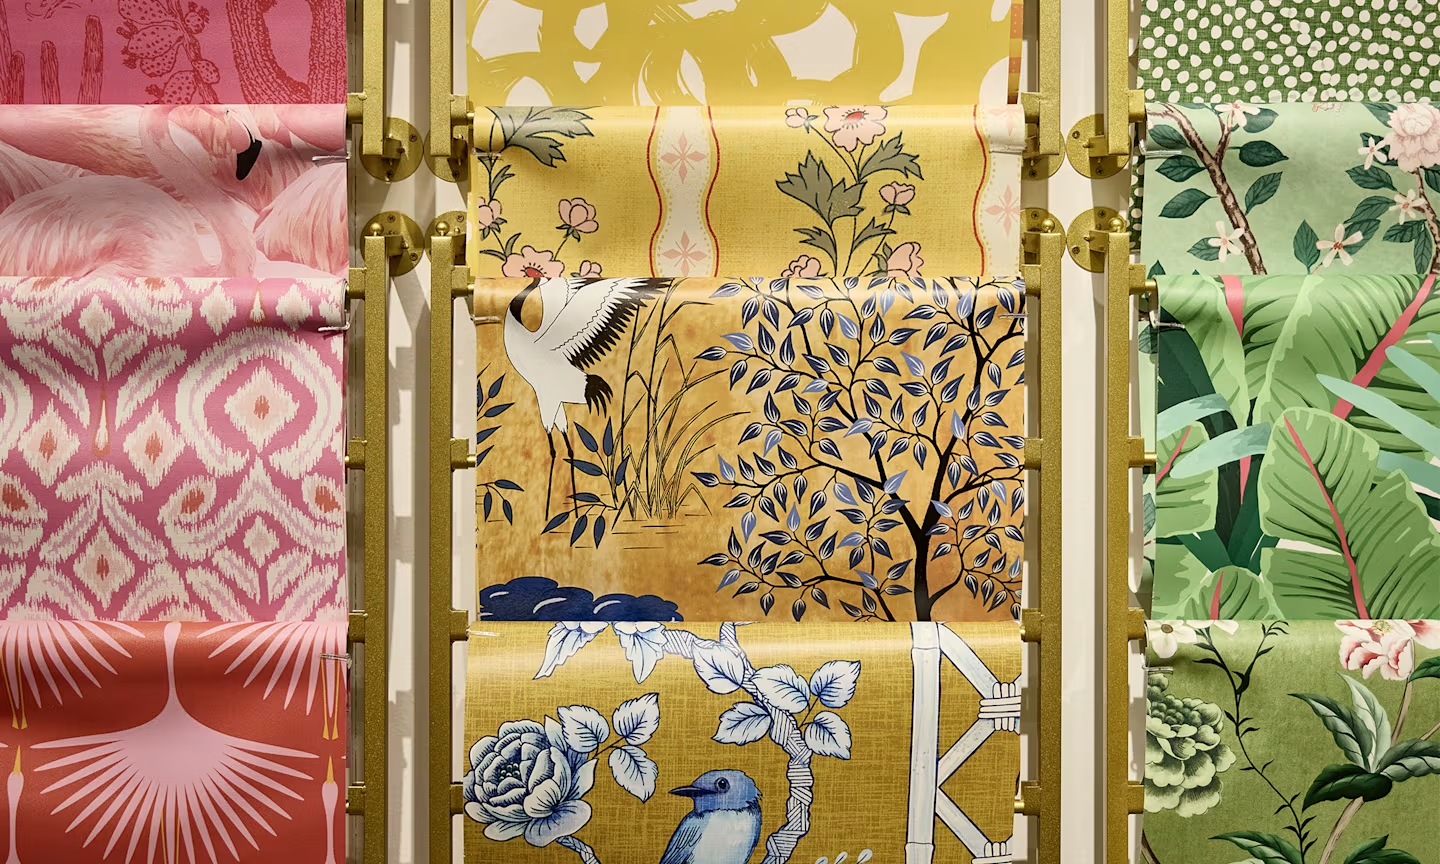
Premium Materials, Always in Stock
Trusted by pros and enthusiasts, our responsibly sourced textiles and papers offer the perfect finish—from smooth to textured, delicate to durable.
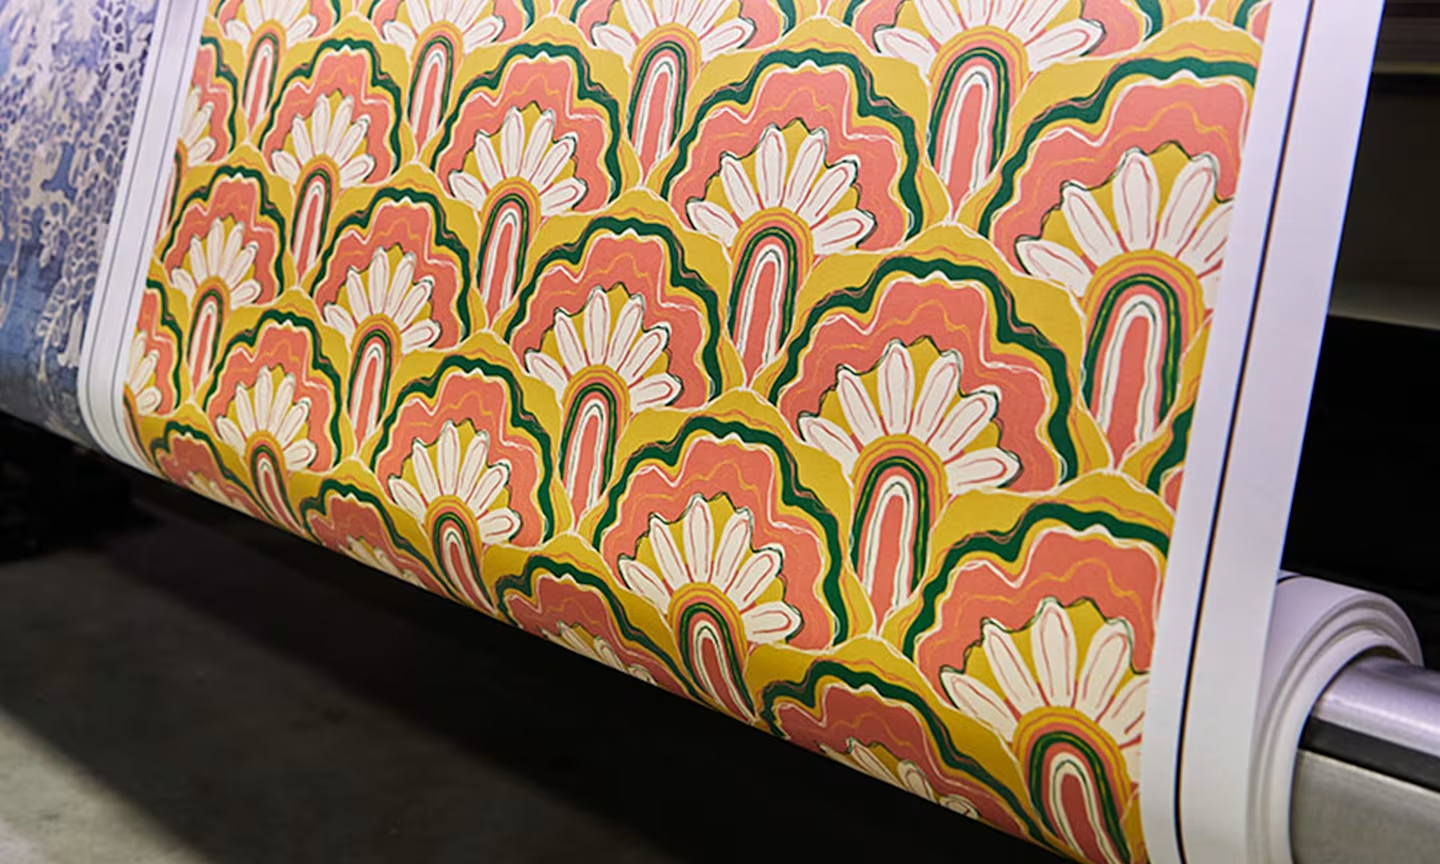
Printed on Demand in the USA
Our print-on-demand model lets you choose your design, material, and quantity—minimizing waste with non-toxic inks and reduced packaging.