
How to Sew a Bowl Cozy
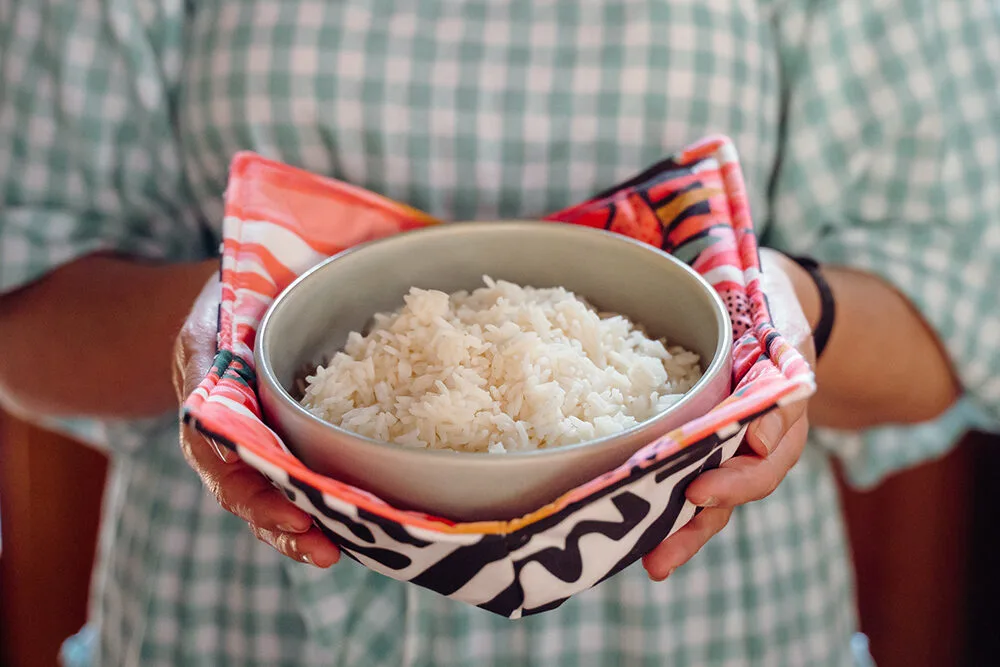
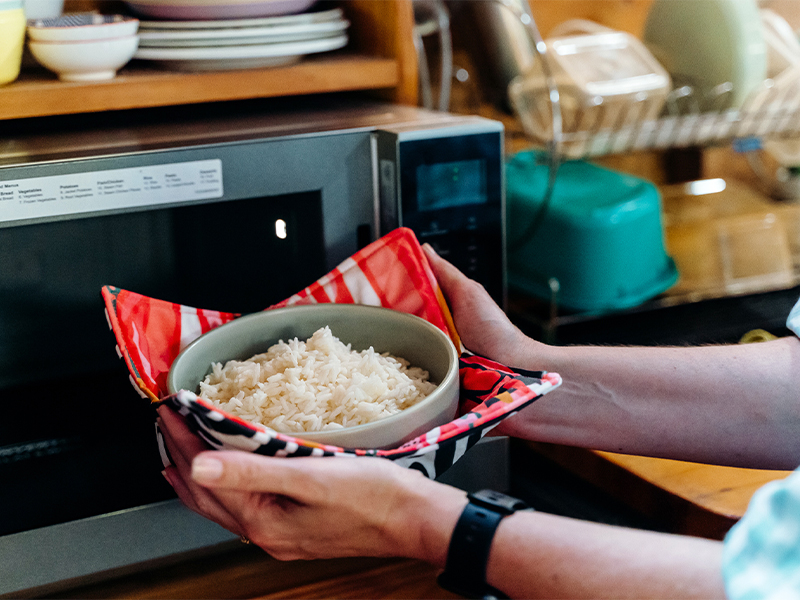
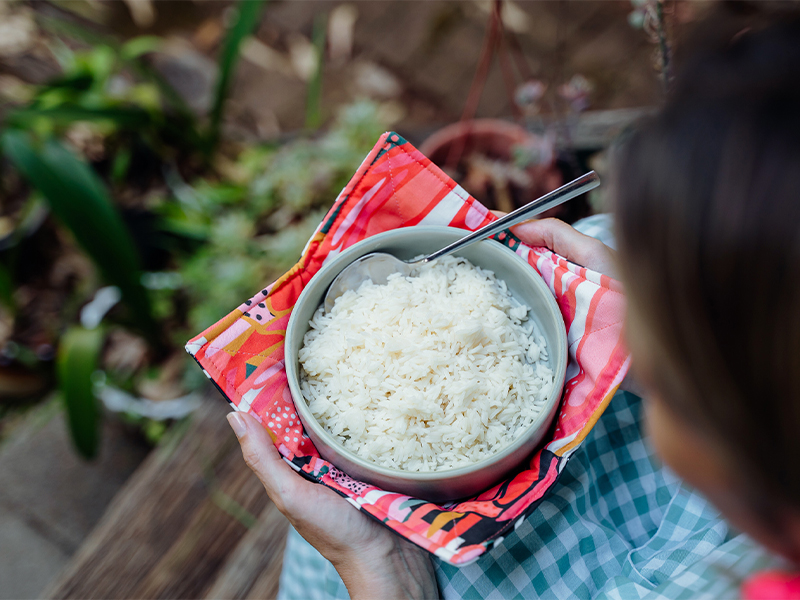
Our friends at Peppermint magazine are back to show you how to sew this quick bowl cozy ensuring both ease and style the next time you zap your next meal. When you’re in a hurry, microwaving food can be a great timesaver, but running to the table with a microwaved bowl in your hands makes for a risky sprint! However, after completing this DIY microwavable bowl cozy tutorial, you’ll soon be turning those mad dashes across the kitchen with a piping hot bowl into smug steps of satisfaction, complete with cool hands.
Bowl Cozy Materials
- 2 fat quarters of 100% cotton fabric—We’re using Petal Signature Cotton in Protea Abstract 4 Bottle Green and Graphic Jelly Shapes (Not synthetic fabric, see text above regarding the fire/melting risk.)
- Printed PDF pattern
- 100% cotton wadding/batting (We’re using Wrap-N-ZapTM)
- 100% cotton thread (Not polyester thread, see text above regarding the fire/melting risk.)
- Dressmaking scissors or rotary cutter with cutting mat
- Iron
- Sewing machine (A universal needle will work, but a denim or heavy-duty needle is a good option for the topstitching.)
- Turning tool or a DIY version, like a chopstick or knitting needle
Steps to Make a Bowl Cozy
Step 1. Download and print the pattern
Download and print the free bowl cozy pattern. Feel free to increase or decrease the printing scale as required for your chosen bowl. The diameter of the template as is is just shy of 15″. If you want to play around with the scale of the printed pattern, it will increase and decrease the size of its diameter accordingly.Step 2. Cut out the pattern
Cut out the pattern from the piece of paper.Step 3. Prepare your fabric and batting
Fabric: Pre-shrink by putting it through a basic cycle in the washing machine, then dry and iron.Batting: Prepare as per the product instructions.Step 4. Cut out your fabric pieces
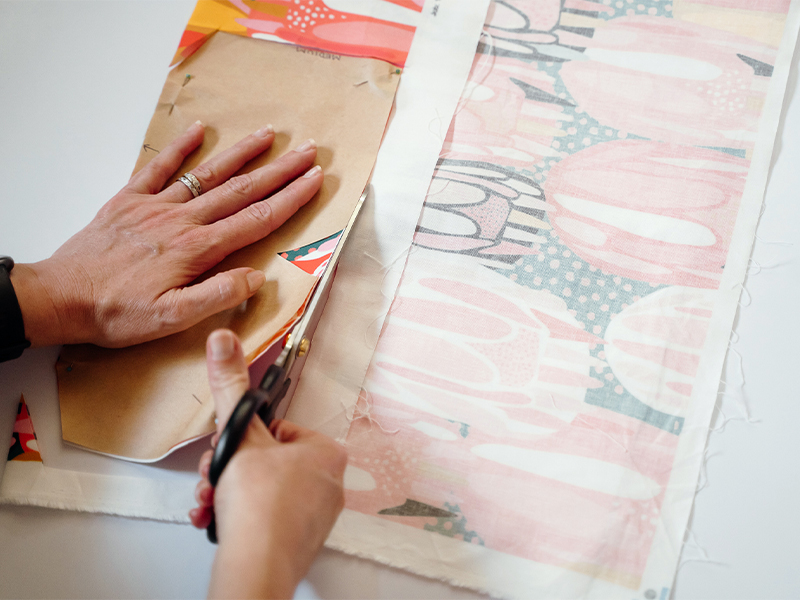
Take the pattern and lay it on your fabric. Be sure to follow the pattern markings and cut your fabric on the fold. Cut two pieces. If you would like to use two different fabrics to make your cozy reversible as we have done, cut one of each fabric.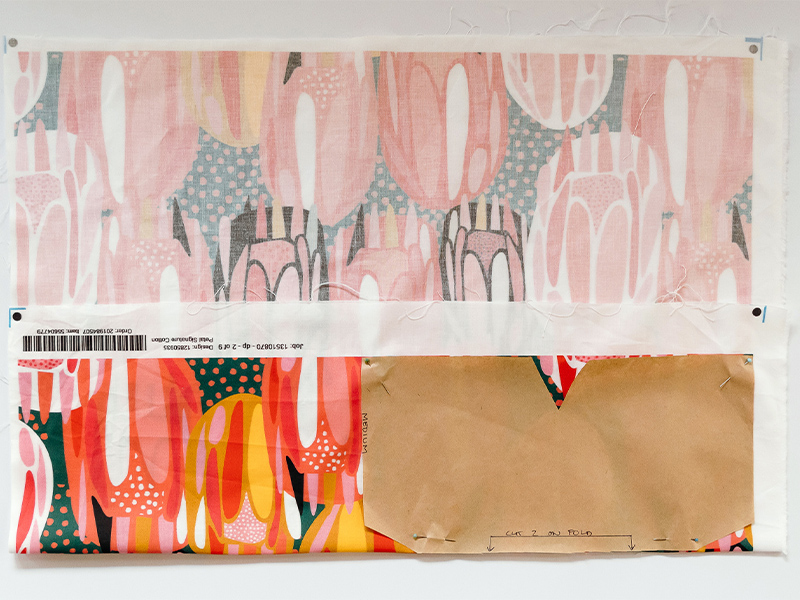
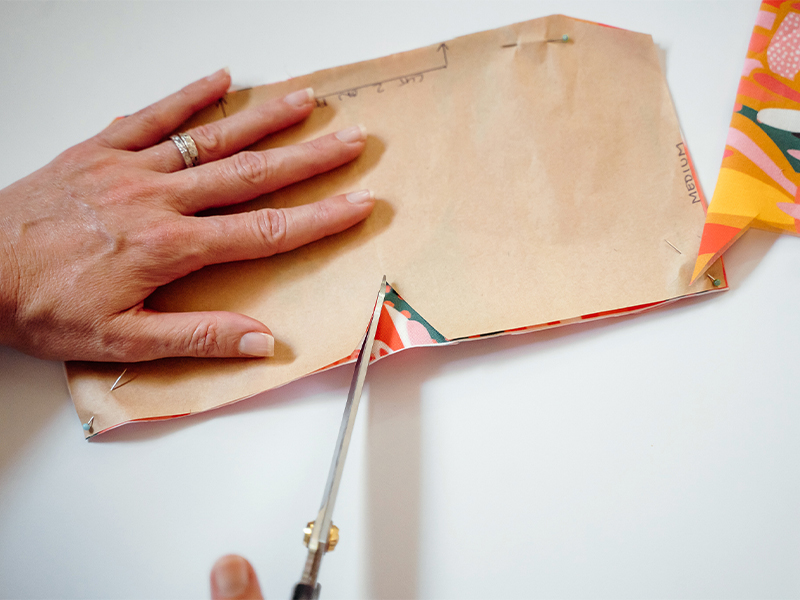
Step 5. Crease an ‘X’ pattern on the fabric
Using an iron, press two diagonal lines in the fabric, one running top left to bottom right and the other running top right to bottom left. This will create an ‘X’ pattern through the center of the fabric.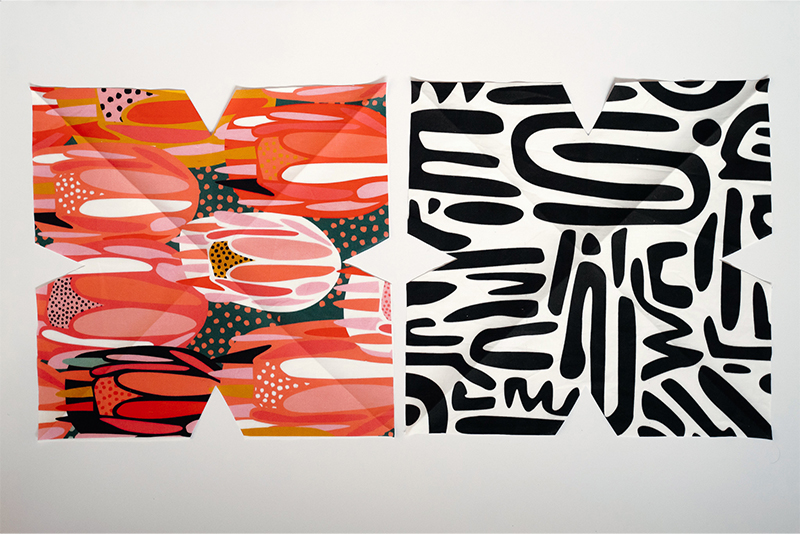
Step 6. Cut out the batting
Cut two squares of batting which are slightly larger than the fabric squares.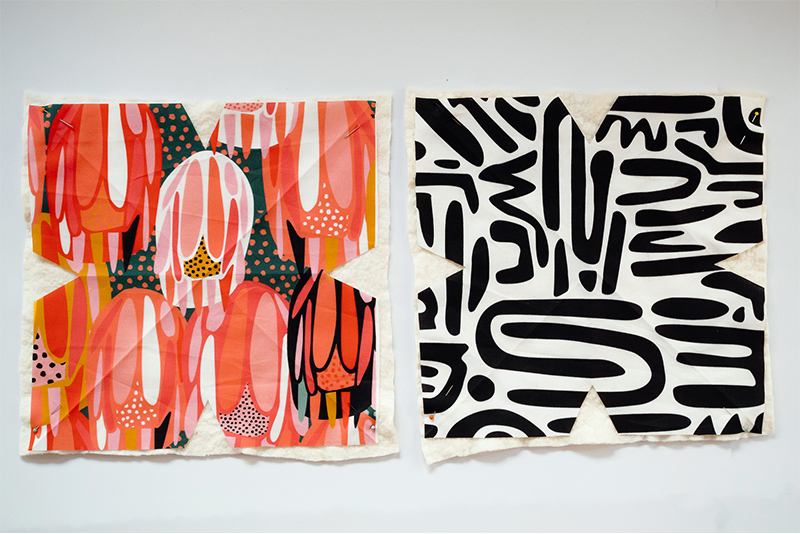
Step 7. Place and pin the batting
Place one piece of fabric on top of a square of batting and pin.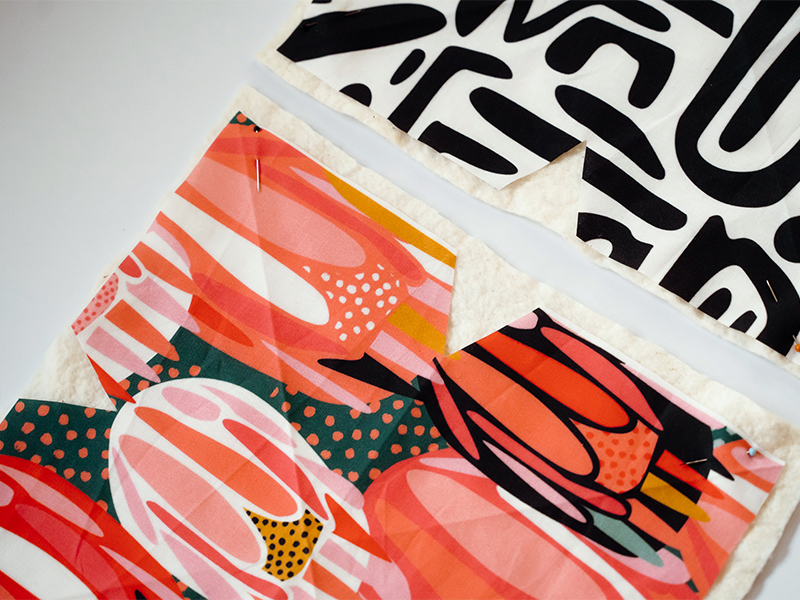
Step 8. Sew the fabric to the batting
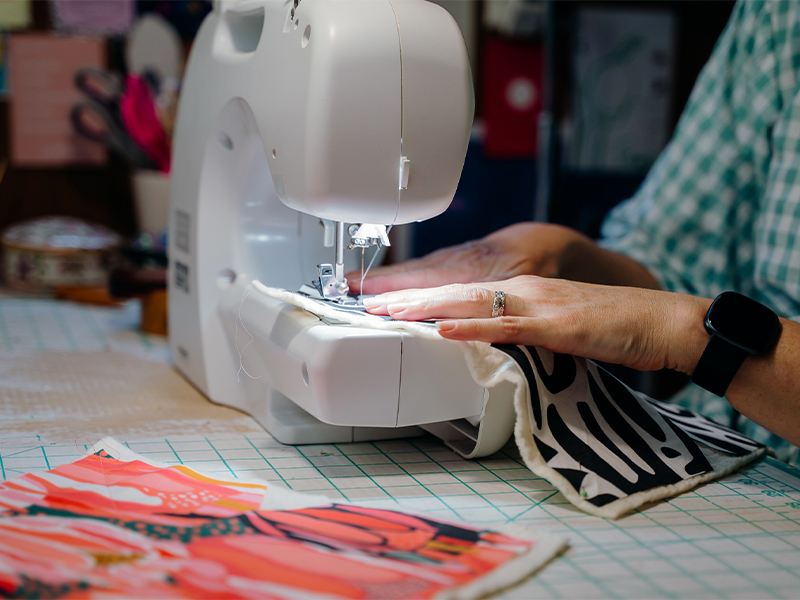
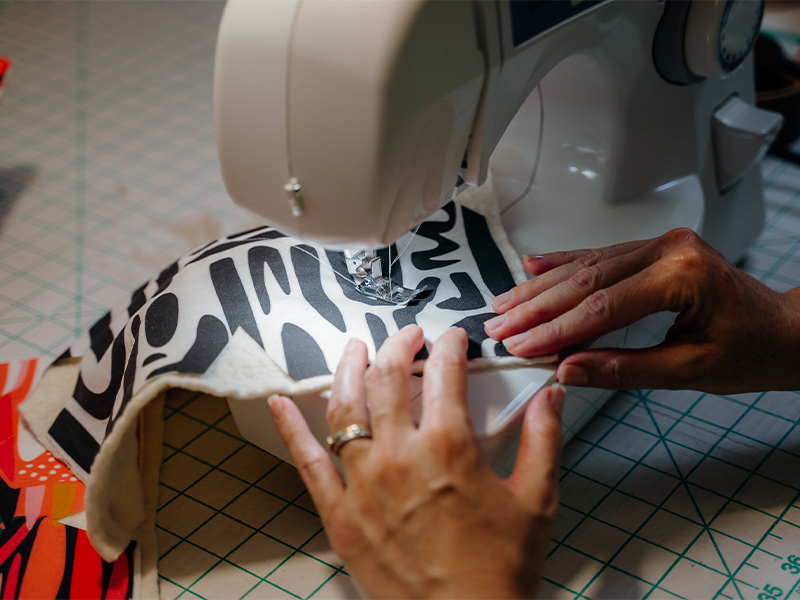
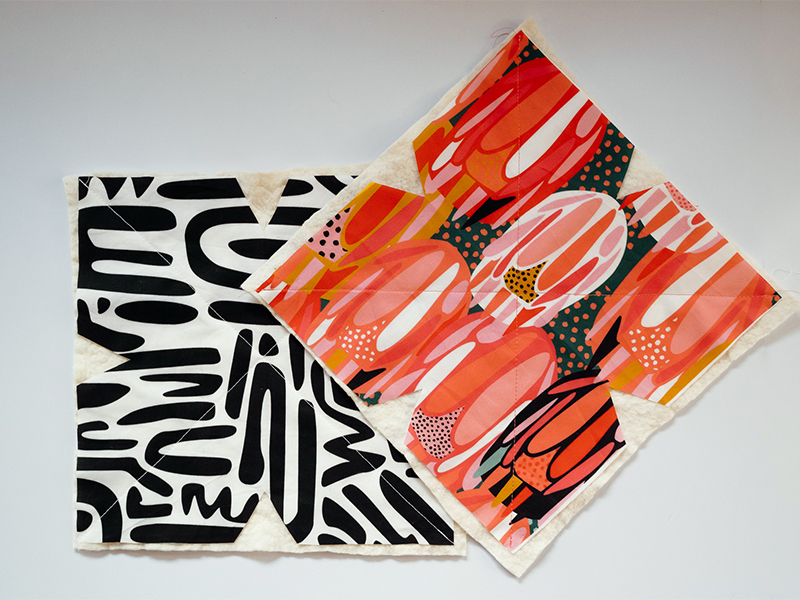
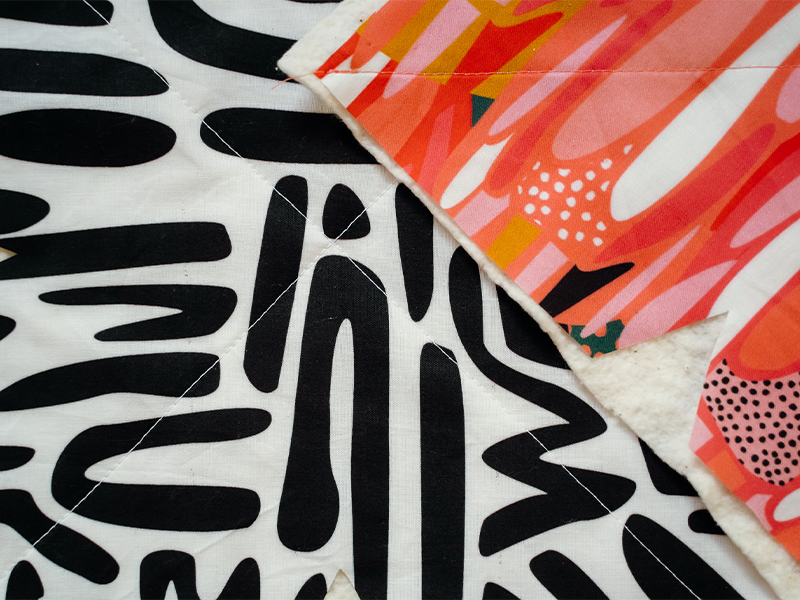
Step 9. Trim the batting
Following the shape of the fabric, trim the excess batting.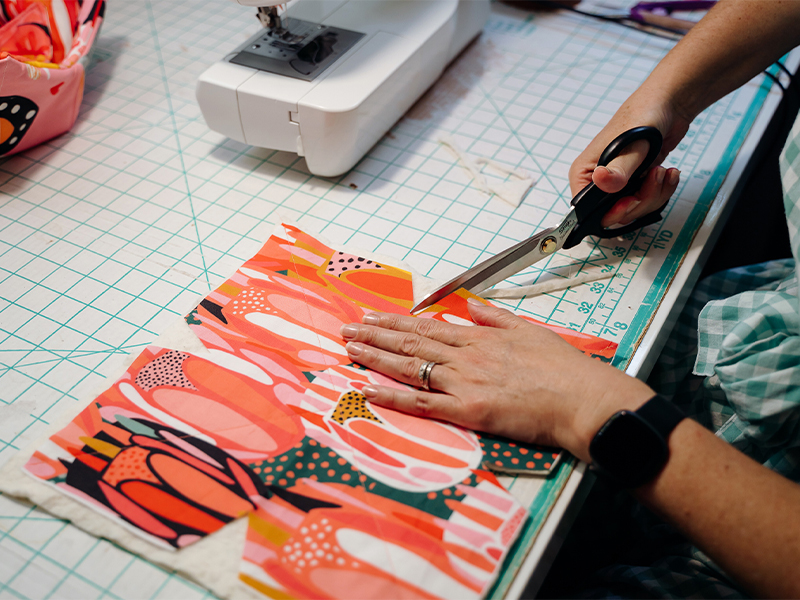
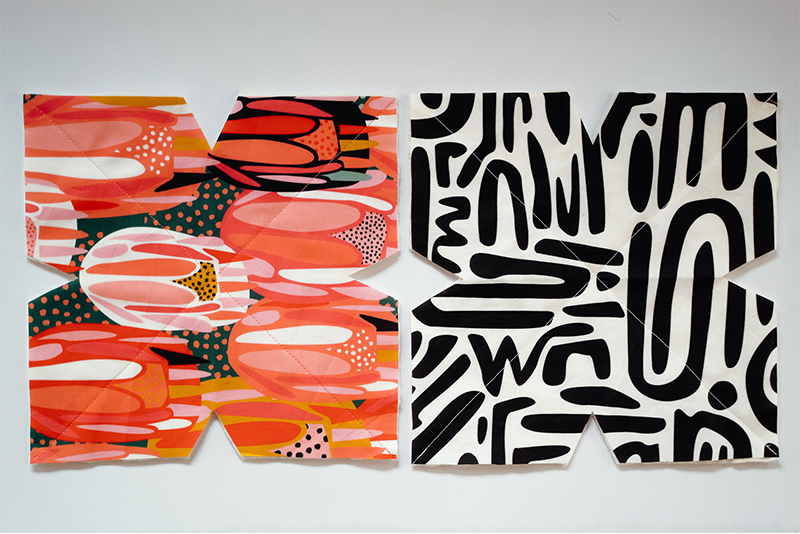
Step 10. Line up the edges of the darts
Line up the raw edges of the darts by folding the fabric right sides together to prepare them for sewing.Step 11. Sew the darts
Sew each dart, backstitching at the beginning and end. Be sure to capture both the fabric and batting together so there are no raw edges on the right side. This can be tricky due to the thickness of the batting.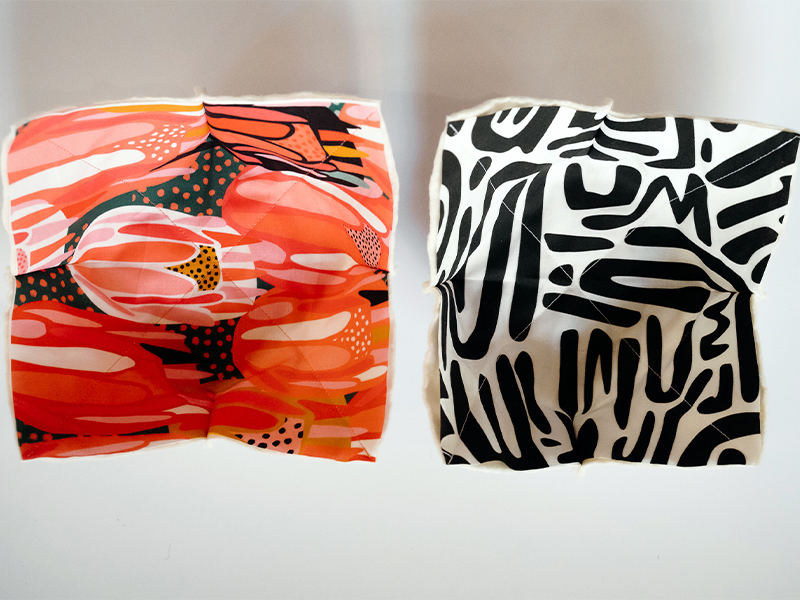
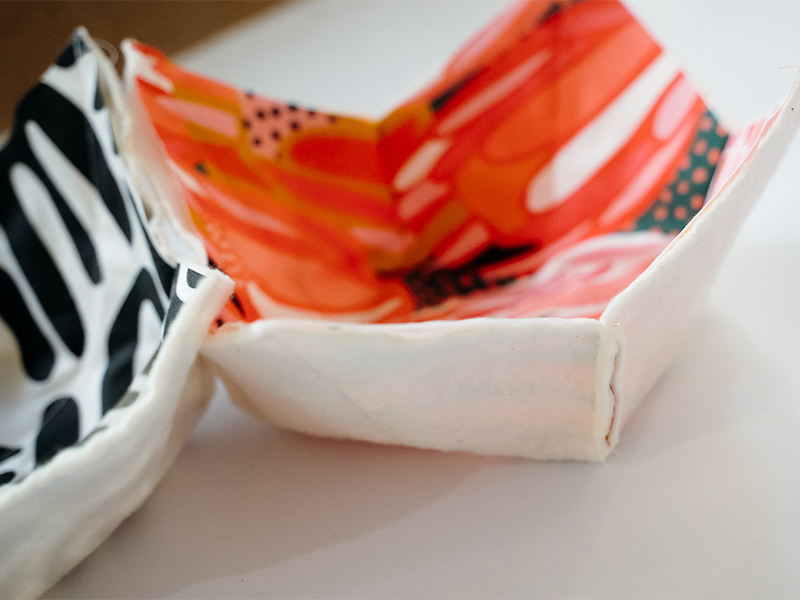
Step 12. Pin both sides of the cozy together with the fabric facing inward
Once you have sewn all the darts for both sides of the cozy, take the two sides and pin them right sides together.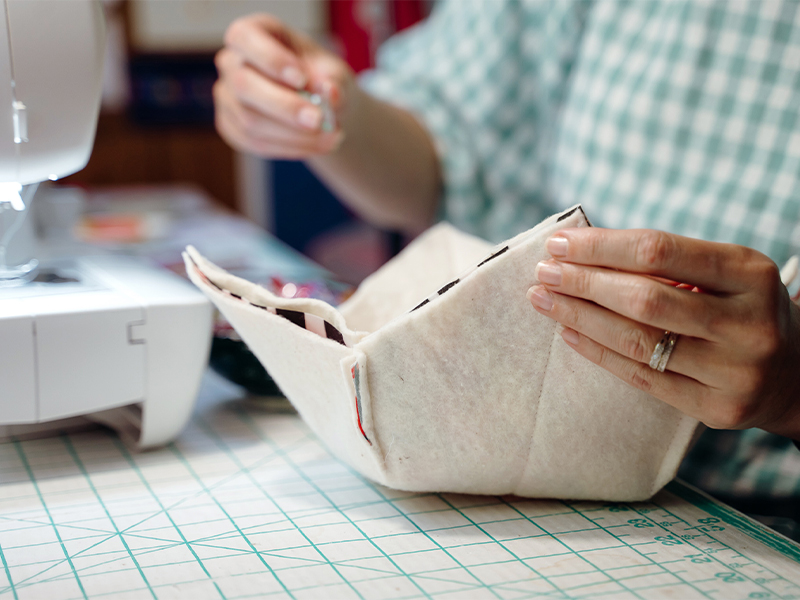
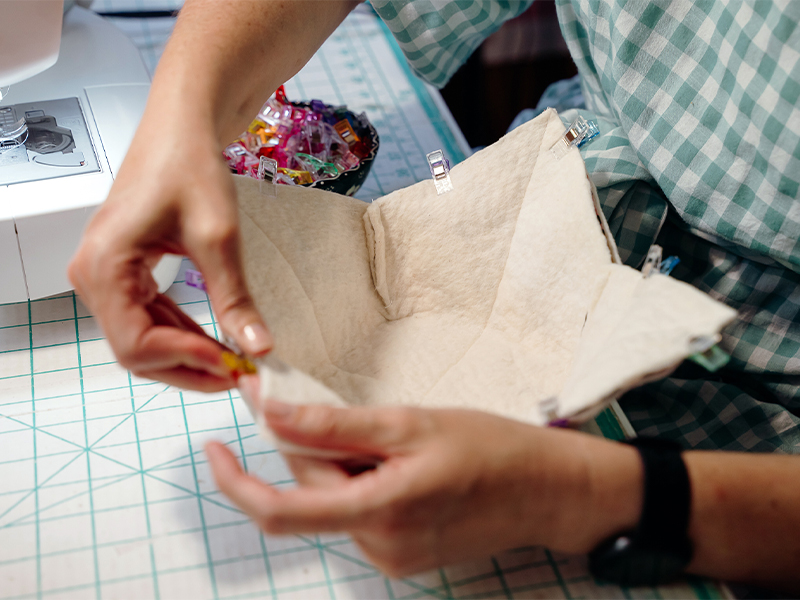
Step 13. Sew along all edges, except for a 3” opening
Using your sewing machine, sew along all edges leaving a 3” opening in the middle of one of the straight edges—don’t have your opening on a corner!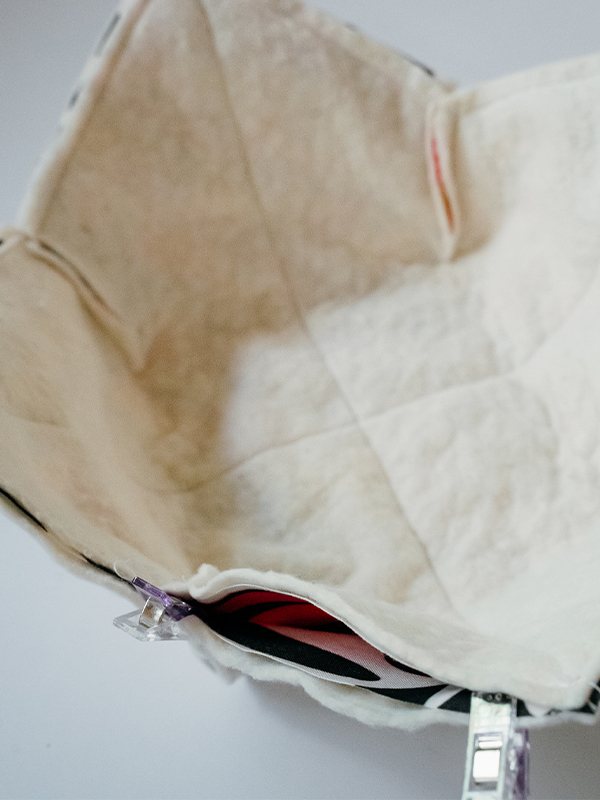
Step 14. Tidy up the fabric
Clip the corners and trim the seam allowances.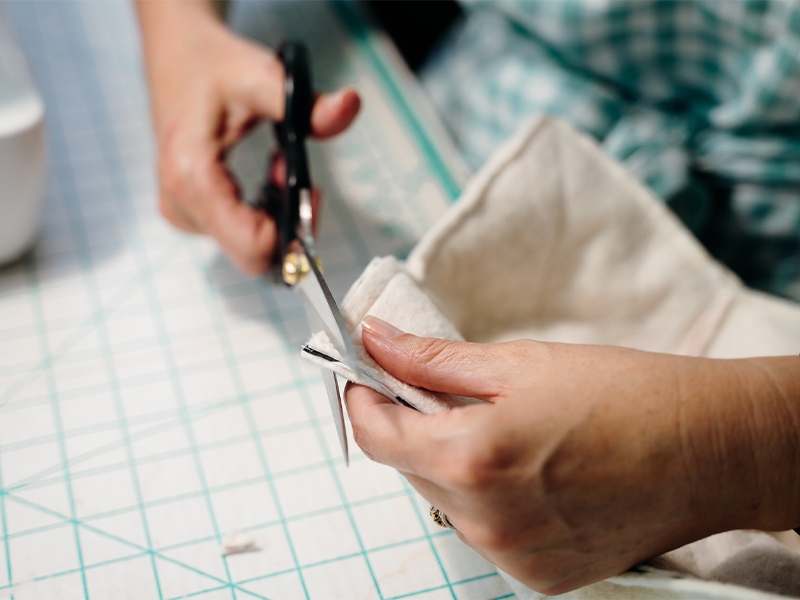
Step 15. Birth the bowl cozy through the 3” opening
Turn the project right side out and sharpen your corners by pushing gently with a turning tool. If you don’t have a turning tool, you can use a DIY option like a chopstick or a knitting needle. (And, yes, when you push your project through a small hole, it’s called birthing!)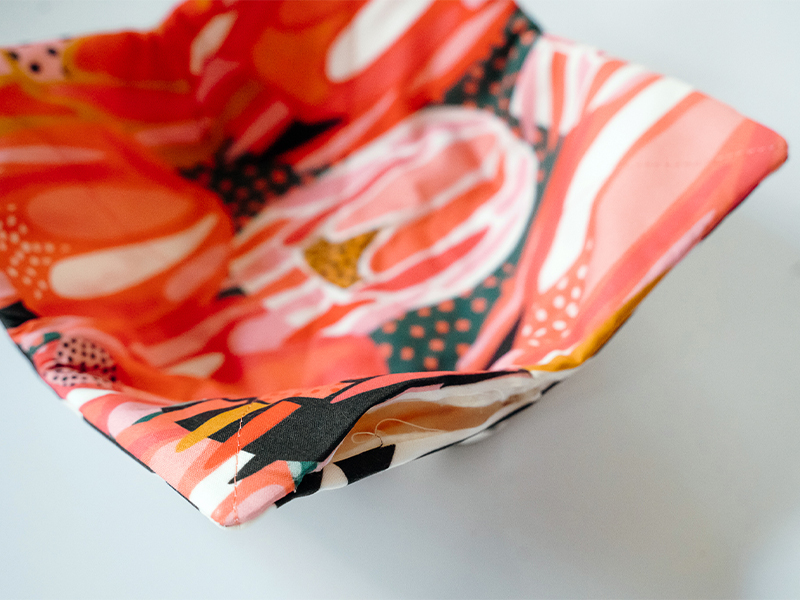
Step 16. Topstitch all the way around the edge of the cozy
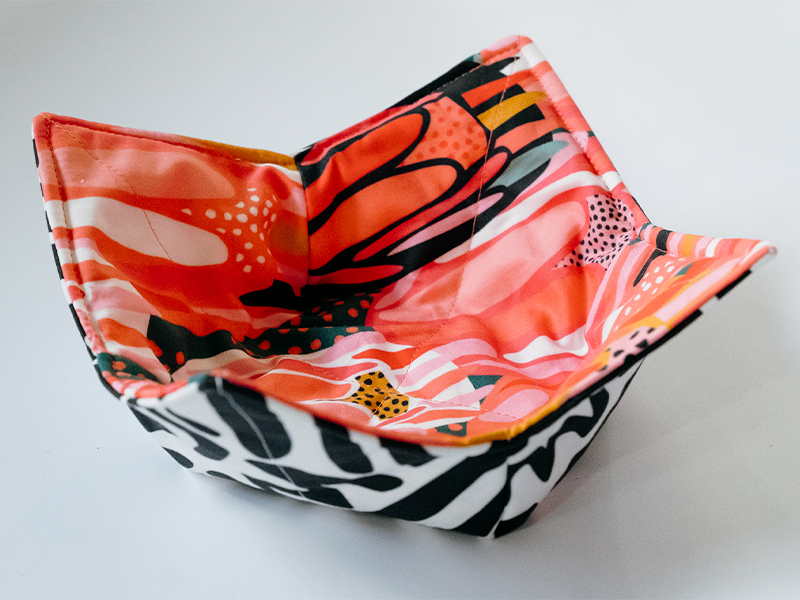
Topstitch the entire way round the edge of the bowl cozy, sealing the 3” opening as you do. While you should be able to complete this project with a standard needle in your sewing machine, a denim or heavy-duty needle is also a good option—particularly for the topstitching. When topstitching your bowl cozy, pivot at the corners rather than stitching four independent straight lines as this will achieve a neater look. And ta da! Your bowl cozy is now complete, you clever thing! Release your inner MasterChef and celebrate with a bowl of something hot and delicious.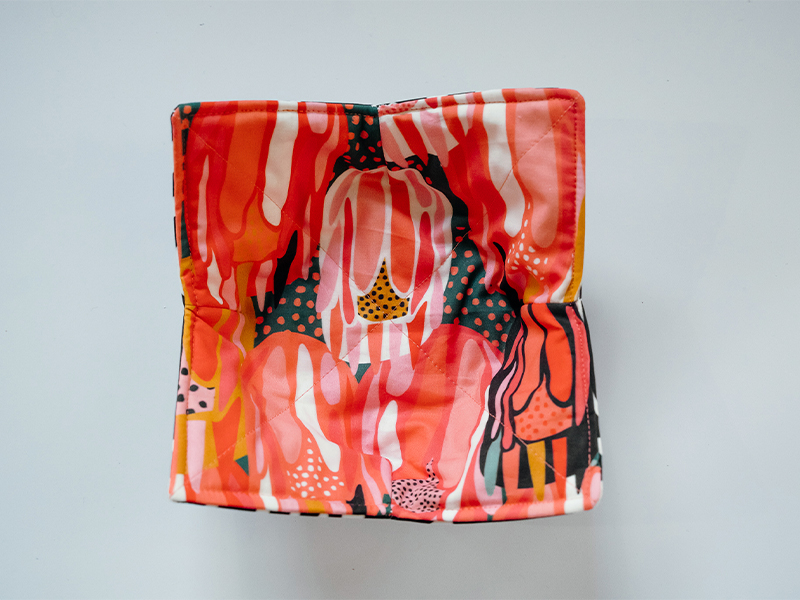
Frequently Asked Questions
Want to See Another Project From Peppermint?
Made to order using unique designs from artists worldwide.
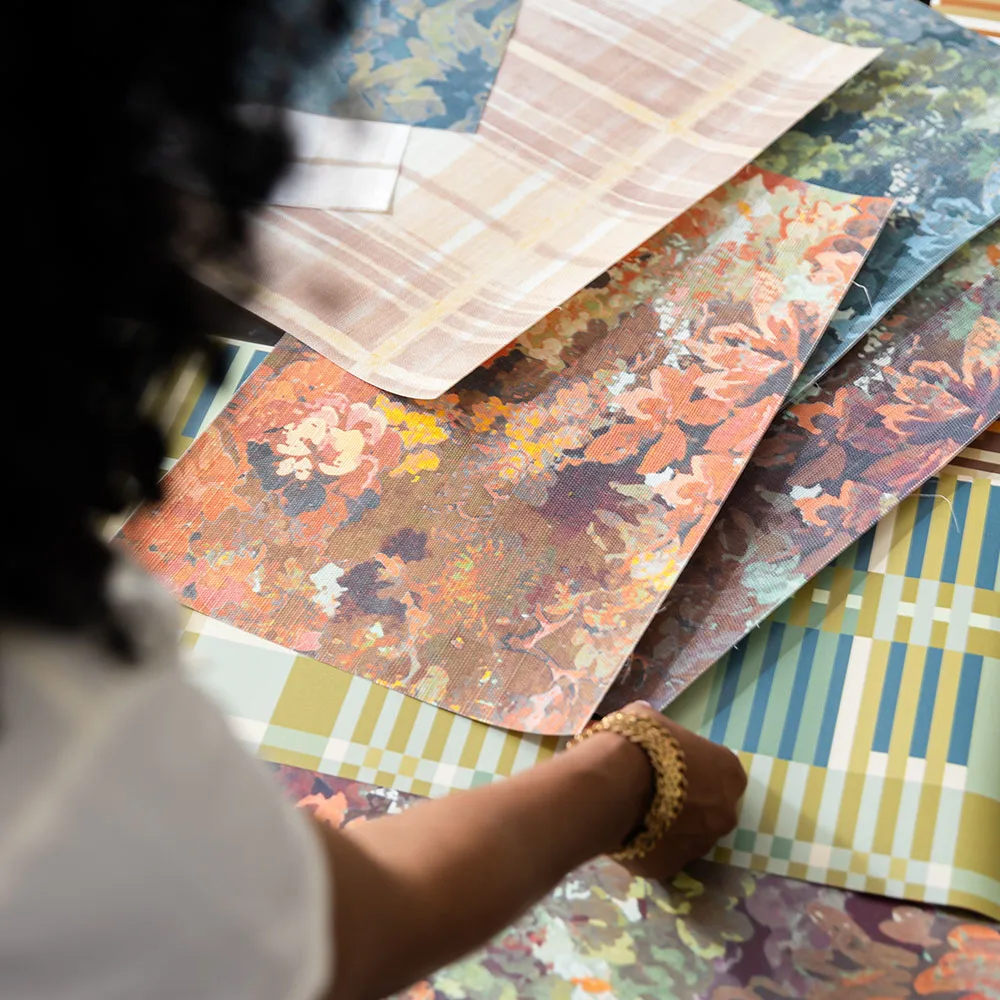
The World’s Largest Design Library for Wallpaper and Textiles
Discover a world of design—from minimalist to maximalist. Thousands of global artists, with new styles added constantly.
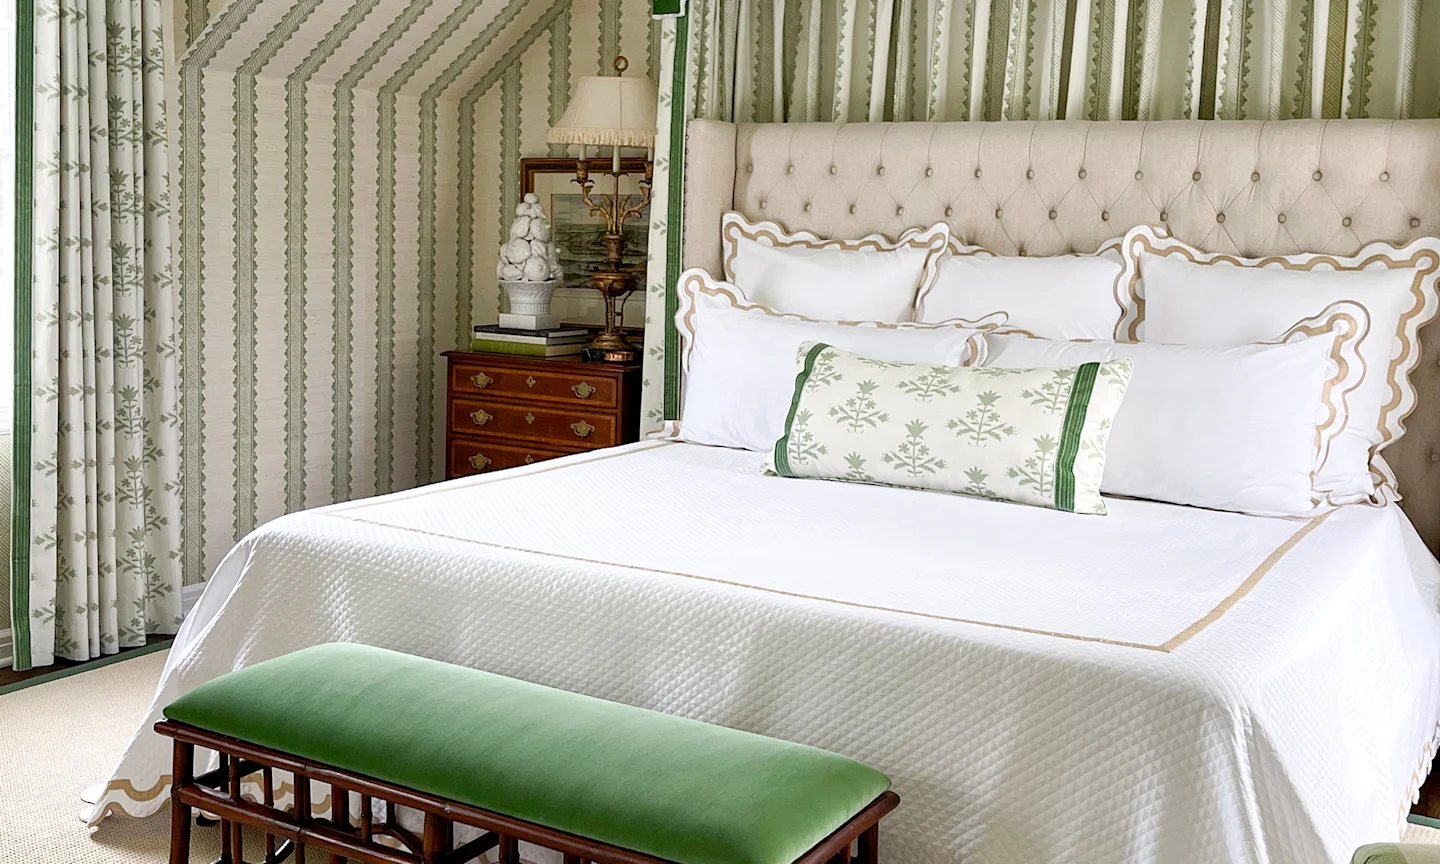
Custom Designs on Any Item
Our made-to-order model lets you print any design on any material. Coordinate patterns across rooms for a cohesive, personalized home.
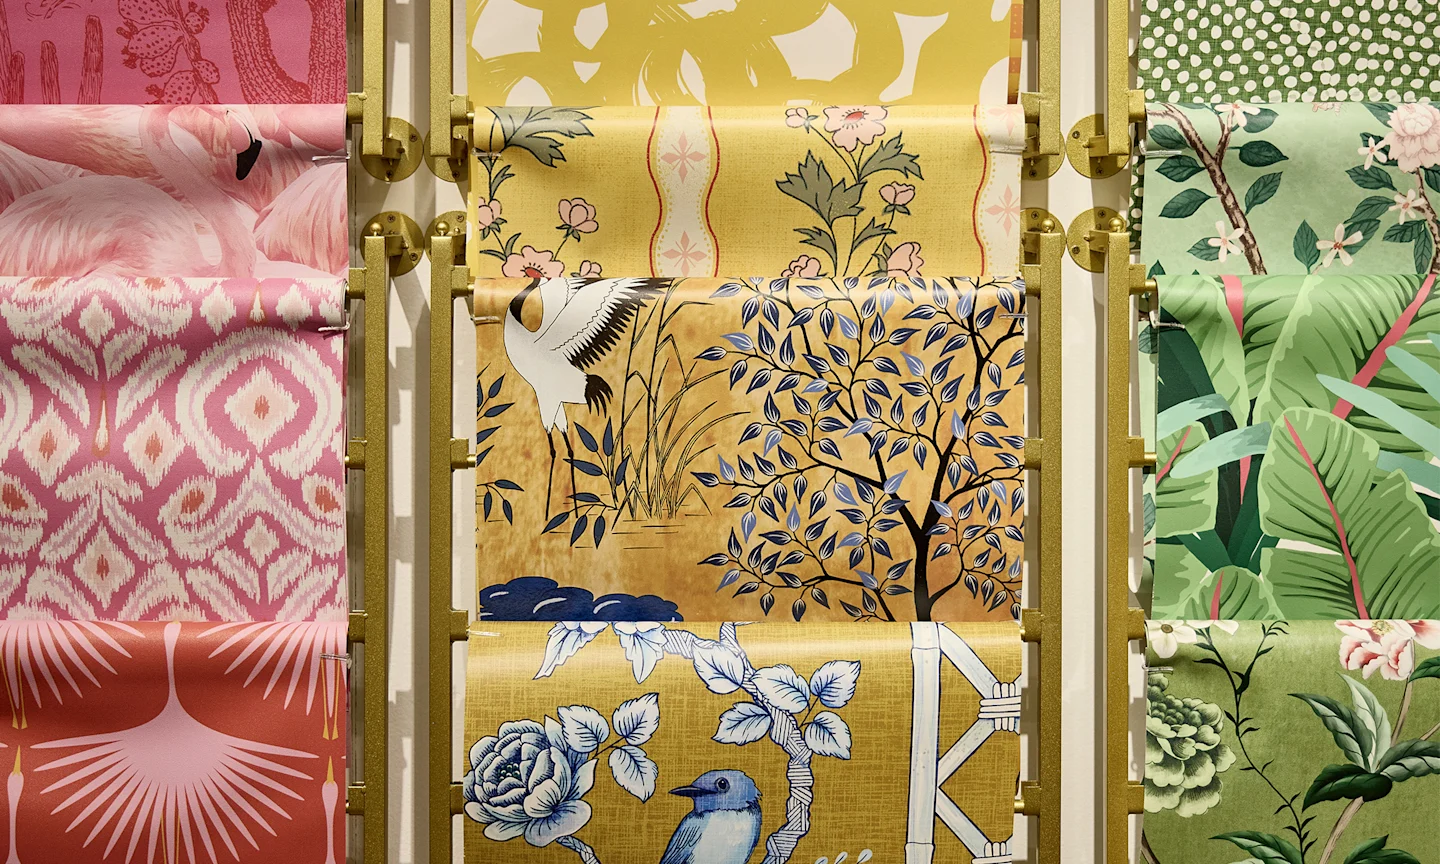
Premium Materials, Always in Stock
Trusted by pros and enthusiasts, our responsibly sourced textiles and papers offer the perfect finish—from smooth to textured, delicate to durable.
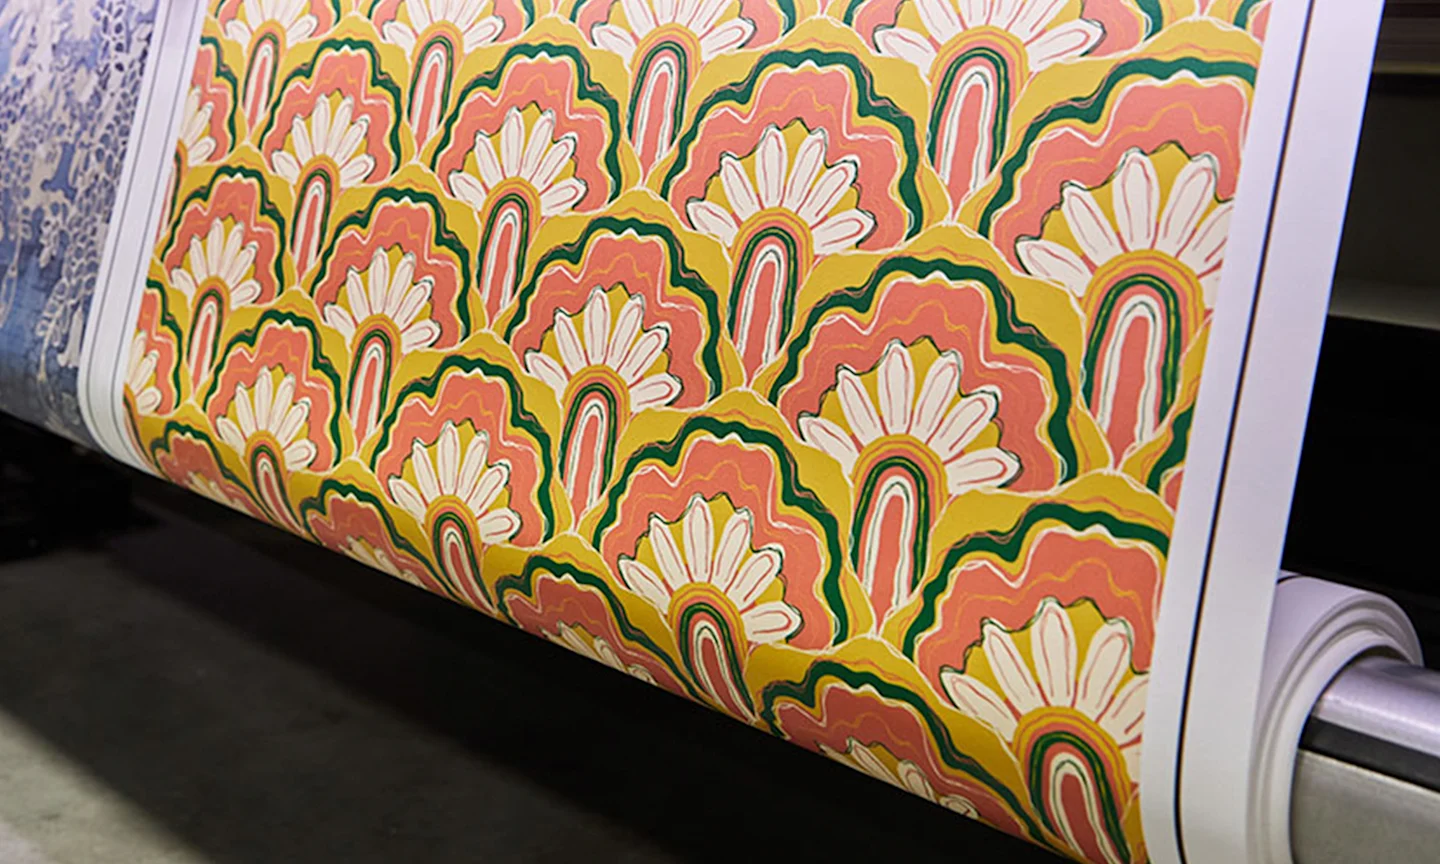
Printed on Demand in the USA
Our print-on-demand model lets you choose your design, material, and quantity—minimizing waste with non-toxic inks and reduced packaging.