September 23, 2025 • Updated February 25, 2026
DIY Denim Skirt + Free Sewing Pattern
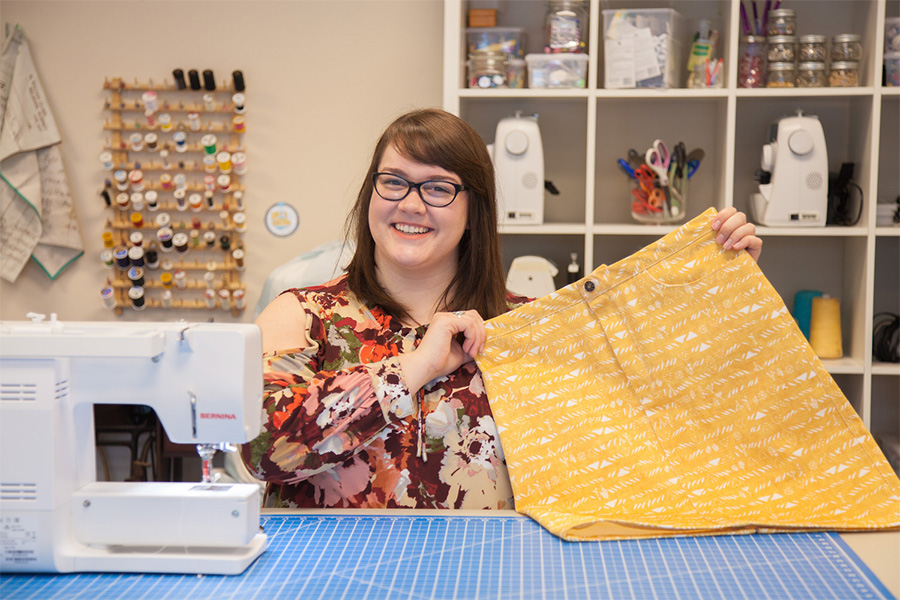
We think every me-made wardrobe should include an easy-to-wear DIY denim skirt. Whether you are looking for a mini or maxi skirt, it’s a staple that can transition from day to night, and work from spring through fall. Using our Dogwood Denim™, we will take you through all the steps you need to create a skirt in the video and step-by-step instructions below using our free PDF pattern (available in sizes 0-18). If you prefer a shorter or longer length, we’ve included two additional versions just for you!
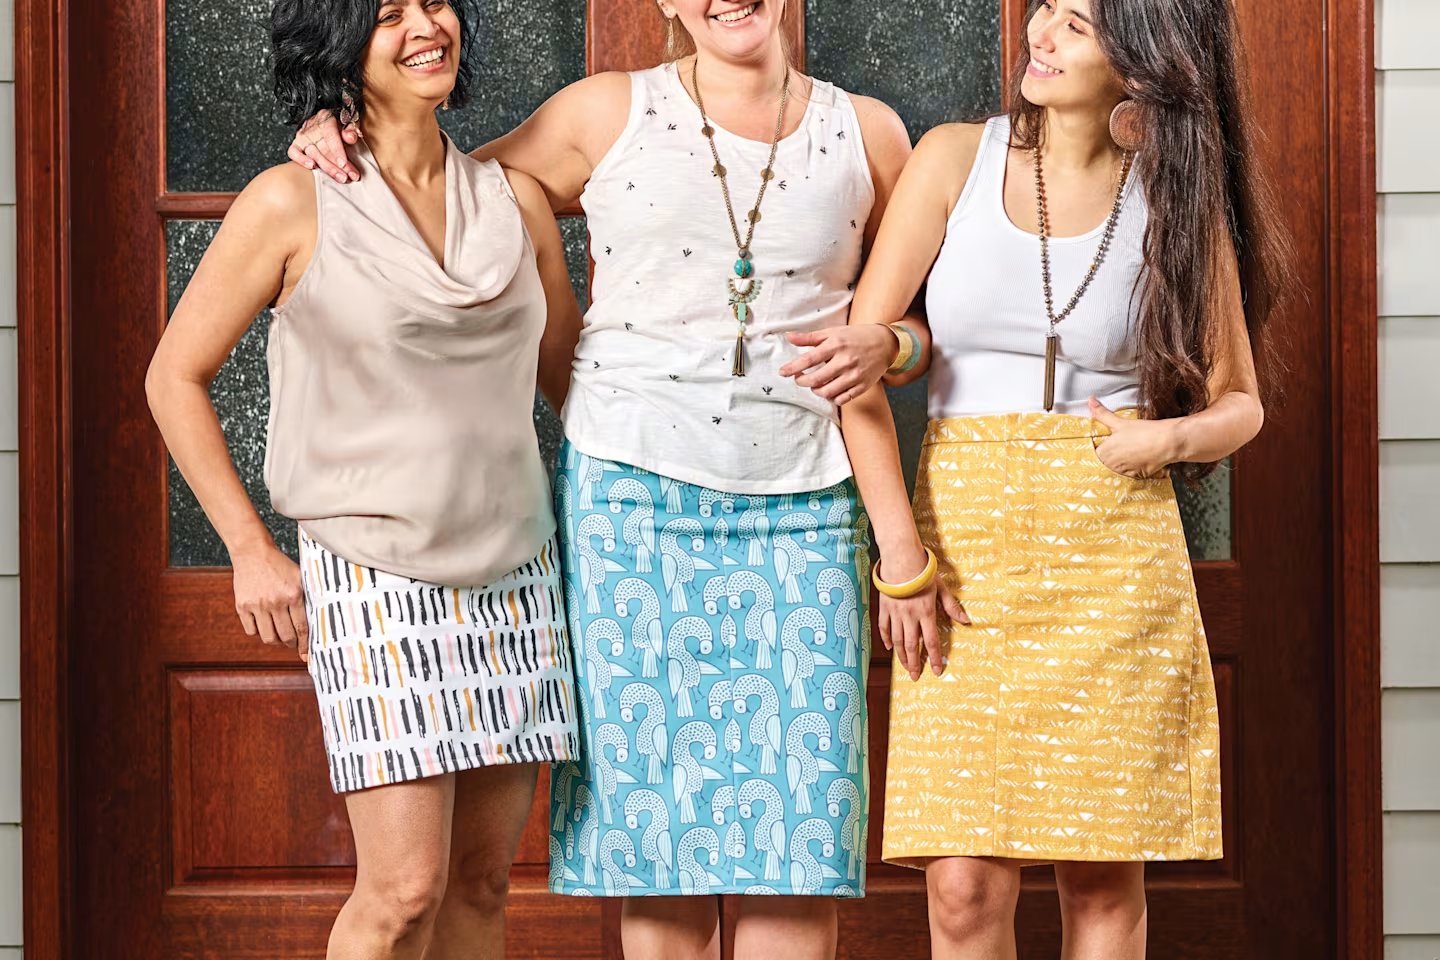
**Denim skirts are always in style for a reason as they fit effortlessly into most occasions. And with our Dogwood Denim™, you can easily step outside of the usual solid-colored denim piece by making your own using your favorite Spoonflower design. Follow the steps or watch the video to below make your very own denim skirt.
Materials to Sew a Denim Skirt
- 1+ yards of Dogwood Denim (for version 2, use 3 yards)
- Denim Skirt PDF Pattern, available in sizes 0-18 and 3 different lengths
- 1 zipper, 7-9″ long
- 1 button or clasp of your choice
- Sewing machine—We’re using our Bernina B 350
- Thread
- Hammer
- Fabric marker
- Tailor’s chalk
- Serger (optional)
How to Sew a Denim Skirt Tutorial
Step 1: Print your pattern and cut out your desired template
After choosing the version of the skirt you’d like to make, cut out the corresponding paper template.Step 2: Trace and cut out your fabric pieces
Using your paper template and fabric marker, trace your pattern pieces onto your fabric. Cut out two of each pattern piece except for the fly shield, as you’ll only need one.
Step 3: Finish all the edges of your fabric pieces
Finish the raw edges of all your pattern pieces with a zigzag stitch or a serger.
Step 4: Sew the yoke to the back skirt
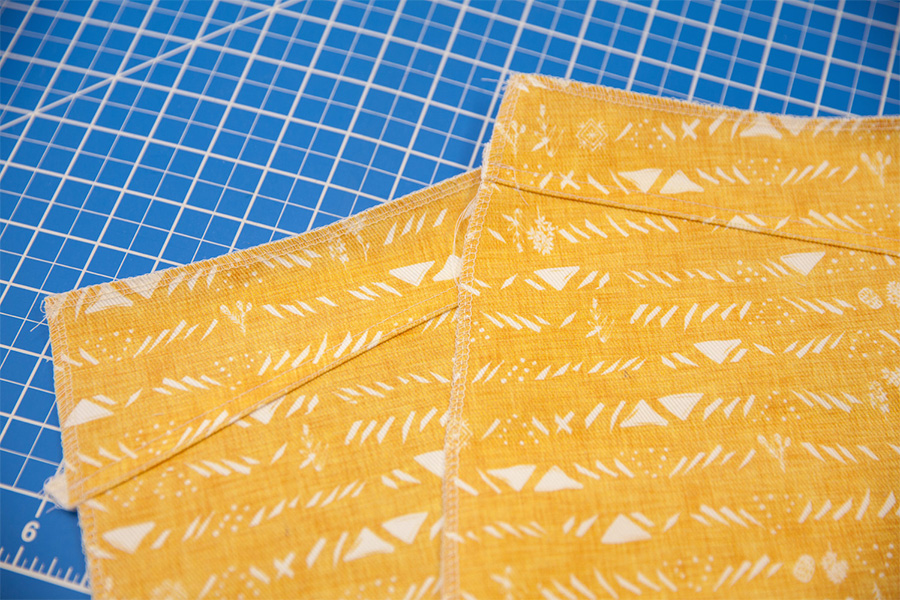
Start assembling your skirt by sewing the yoke to the back skirt, matching the notches. Press the seams up towards the yoke.**For an optional welt seam finish: **On the right side along the seams, top stitch through the seam allowance just beside the seam. Next, top stitch through the seam allowance 1/4” from the seam.
Step 5: Assemble the front pockets
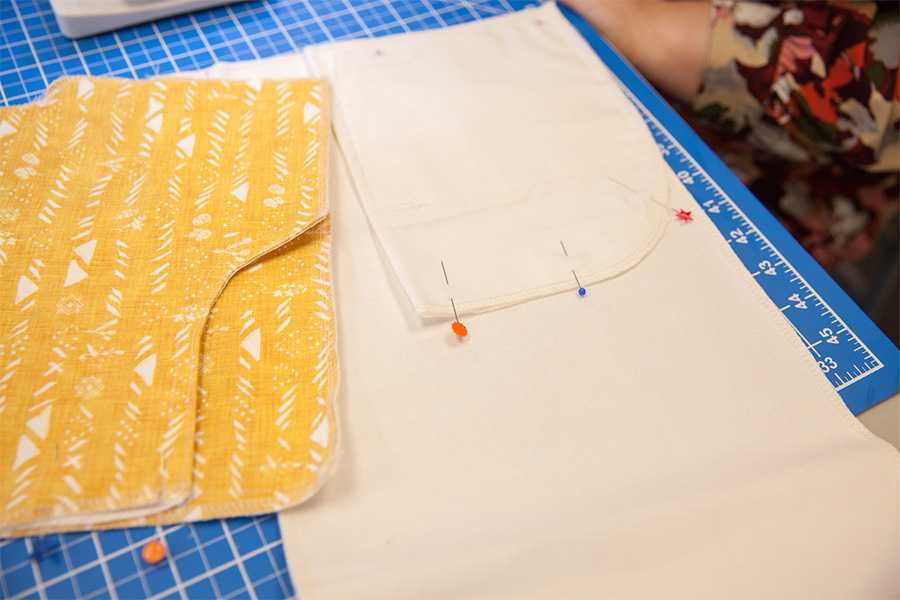
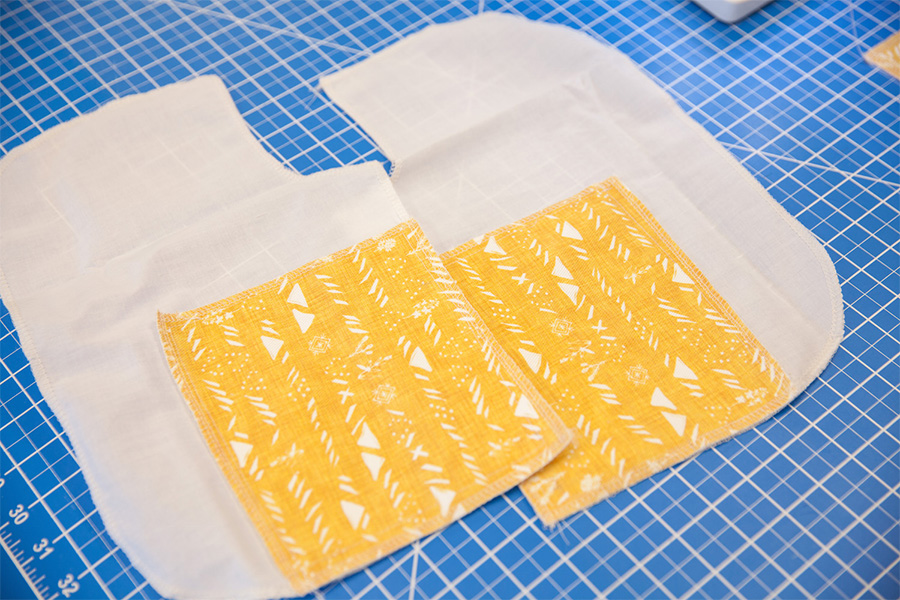
Place your front pocket backing pieces design side up on the right side of your front pocket lining pieces. Be sure to match up the circles. Top stitch the front pocket backing pieces to the front pocket lining along the bottom and inner edges.
Match the right sides of the front pocket lining to the front skirt at the curved edge and sew. Trim the seam allowance and clip along the curve.
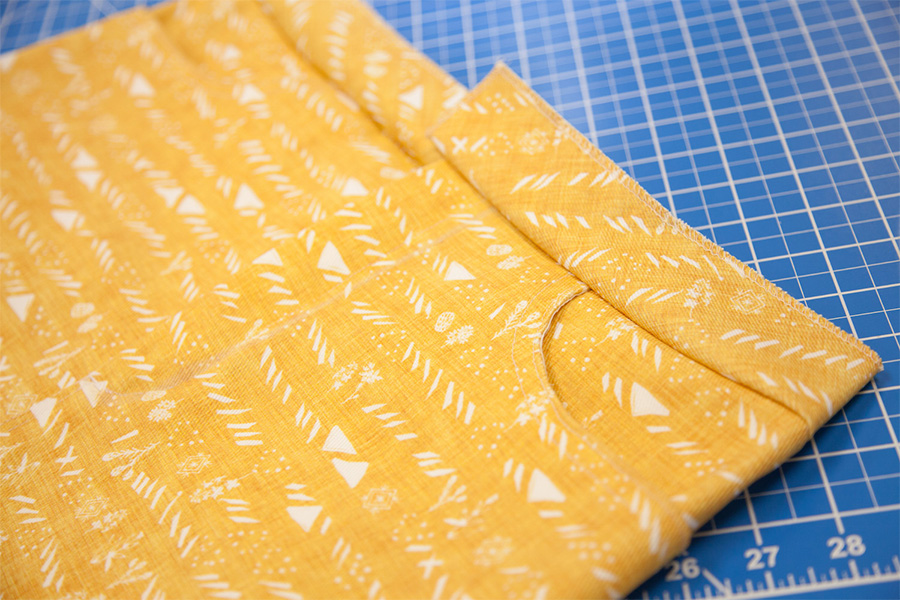
Turn the front pocket lining to the inside of the front skirt. Press the curved edge and top stitch through all layers just inside the edge. Then, top stitch again 1/2” from the curved edge.
Fold the front pocket lining along the fold line and match the bottom curved edge. Sewing only the front pocket lining piece, sew the bottom curved edge.
Step 6: Prep the fly shield and assemble the front skirt
Start by folding the fly shield down the middle with wrong sides together. Then stitch around all three raw edges.With right sides facing, place the front skirt pieces together and stitch from the hem up to the large circle. Clip the seam allowance to—but not through—this point. Baste stitch from the large circle to the waist notch, parallel to the fly extension curve.
Open the front skirt pieces and lay right side down. Press the seam allowance and fly extensions toward the left side.
Fold the edge of the right fly extension over 5/8” and press.
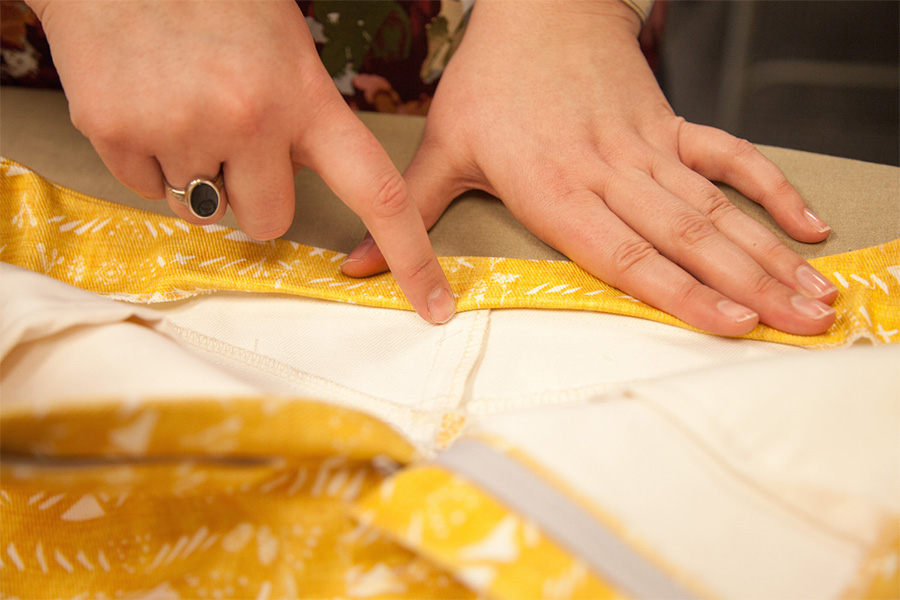
Place the zipper right side down and then align the teeth with the fold line on the right fly extension. Stitch the zipper to the right fly extension, taking care not to stitch through the front skirt (fold extension away to stitch here only).
Lay the right fly extension back down and place the zipper teeth along the left fly extension. Stitch the zipper to the left fly extension, taking care not to stitch through the front skirt.
Match the fly shield to the right fly extension along the raw edges. Stitch the fly shield to the right fly extension along the zipper stitch line, taking care not to stitch through the front skirt. Fold the fly shield away from the left fly extension. Baste the left fly extension to the front skirt.
On the right side of the fabric, use chalk to pencil a J-stitch, the J-shaped stitching along the fly, as seen on most pants. Making sure that the fly shield is still folded out of the way, top stitch along the J-stitch line from the waistline to the center seam.
Step 7: Attach the back pockets to the back skirt
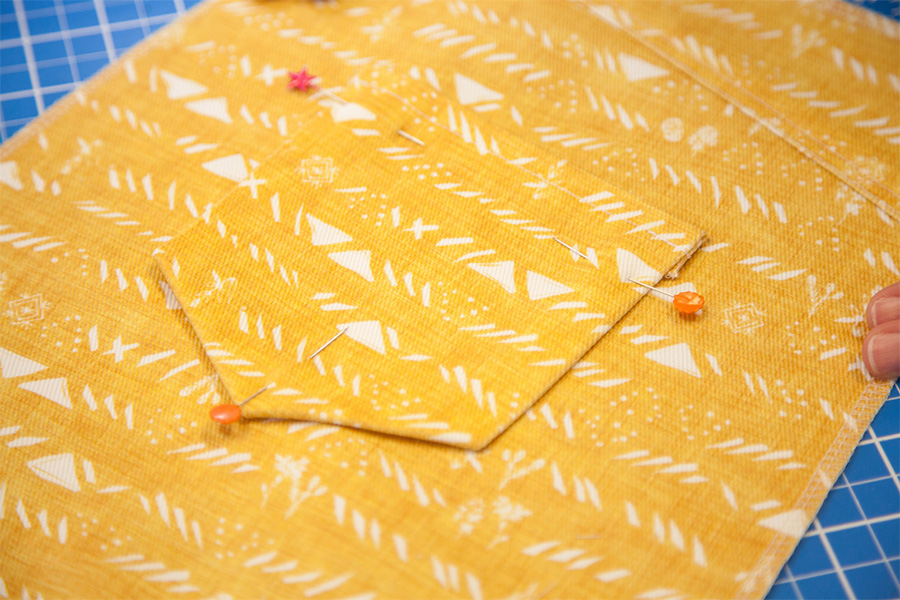
Turn the top edge of the back pocket in toward the wrong side of fabric by 5/8” and press. Here, I’m using a Dritz Ezy Hem to create a perfect, even hem.Fold the sides and bottom of pocket towards the wrong side of the fabric by 5/8” and press. Trim as needed and repeat for the other back pocket. Finally, top stitch about 1/2” from the top edge of the back pocket.
Line up the circles on the back pockets with the circles on the back skirt.
Top stitch along the side and bottom edges about 3/8” from the folded edge to secure the pockets to the back skirt. Top stitch again just inside the side and bottom folded edges.
Sew the two back pieces together along the center-back, being sure to match the yoke seams. Sew along the center-back from top to bottom. Press seams to one side.
Step 8 (versions 2 & 3 only): Finishing the back vent
If you are sewing version 1, skip ahead to step 9. If sewing Version 2 or 3, you will need to finish the back vent at this time. Fold and press the vent flaps over 1/2” toward the wrong side of the fabric. Then, fold over again and press another 5/8”.Secure by top stitching 1/2” from the edge.
With right sides together, sew the side seams of the front and back skirt. Press side seams towards the back. On the right side, top stitch through the seam allowance, 1/2” from the seam.
Step 9: Attach the waistband to the skirt
If you are using interfacing, fuse the interfacing to the wrong side of one waistband piece.With right sides facing, pin the long side of the waistband to the skirt, matching the center-back seam with the center back of the waistband and lining up the hemmed edges of the band with the right and left fly extensions accordingly.
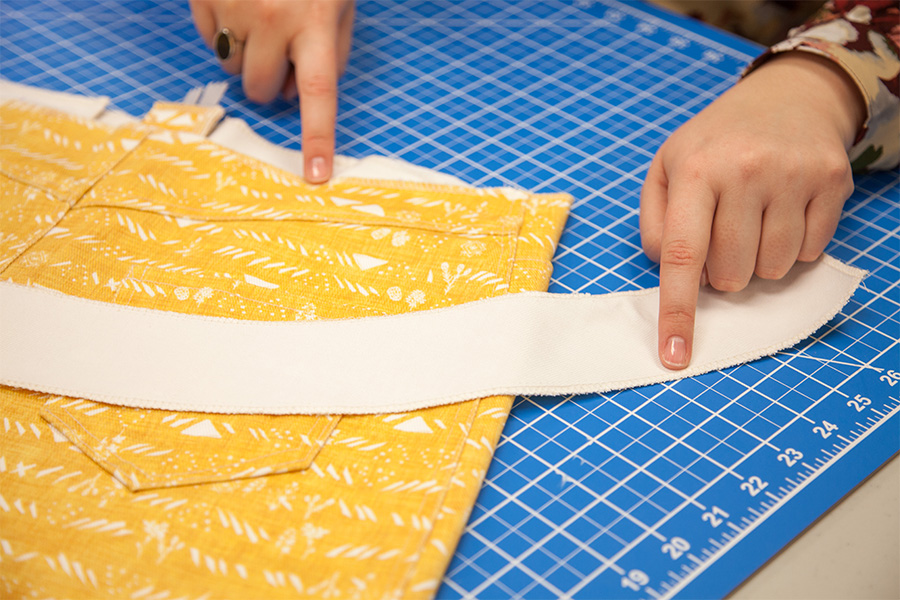
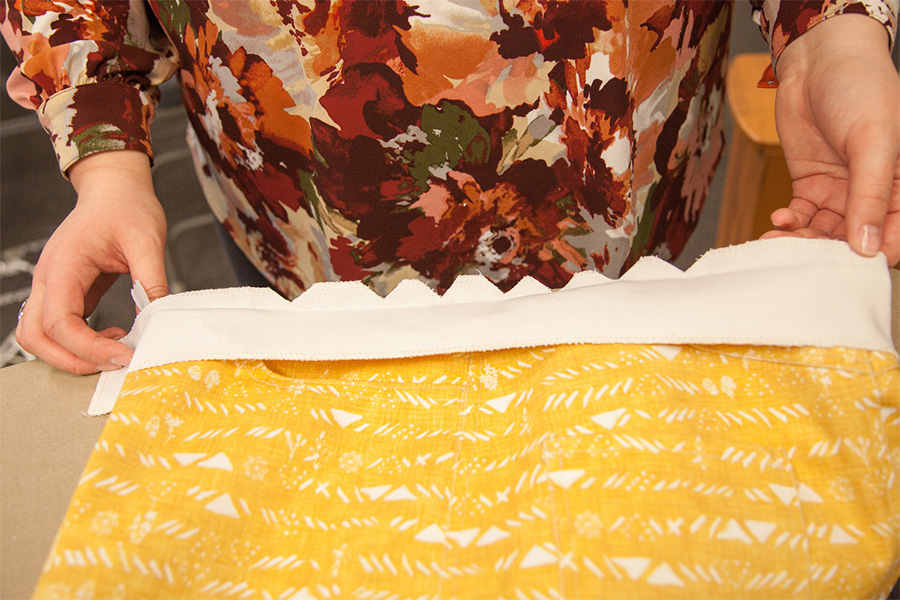
Sew all the way around, and then cut notches around the curve—this is because the waistband is curved, and the skirt isn’t.
Now, press both the waistband and seam allowance up, away from the skirt.
Sew the second waistband piece to the attached waistband along the top edge and center-front edges. Trim the seams as needed, clipping the corners and understitch.
Turn the waistband pieces right-side out and press.
Fold the raw edge under and stitch the facing down on the inside of the skirt.
Step 10: Install clasp or button closure
Following the marking for your size, sew a buttonhole on the overlapping side of the waistband.Then, sew a button to the underlying side of the waistband.
I’m using a traditional denim button, which has to be hammered on.
Step 11: Finish the skirt
Turn the hem up 3/8” and press. Then, turn up another 5/8” and press. Stitch 1/2” from the initial fold to secure the hem.Featured Designs
Frequently Asked Questions
What is the sewing skill level to make a denim skirt?
Advanced beginner sewists and beyond should feel confident in sewing a denim skirt.Where can I find a denim skirt sewing pattern?
Spoonflower has a free sewing pattern to create a denim skirt (in sizes 0-18). Our pattern includes three versions (lengths) you can choose from.How should I care for my denim skirt?
You should machine wash your denim skirt in a cool, gentle/delicate setting. Dry it on low and iron it inside-out. You may also dry clean your skirt if you prefer.Want To Complete the Look?
WHY SPOONFLOWER?