
A Simple Step-by-Step Beginner’s Guide to Reupholstering a Chair
*What’s more fun than buying new furniture? Making over old furniture! **This post will show you how to give that bench in your garage or that new-to-you thrift store bargain an updated look with just a few tools and some basic reupholstery skills. **Keep reading to learn how interior designer Jewel Marlowe reupholstered a drop-seat chair with Spoonflower’s Performance Velvet. *Have a seat cushion or different piece of furniture in mind for your makeover? No problem! The tips below will help you with any reupholstery project.
A closer look at Spoonflower’s upholstery fabrics
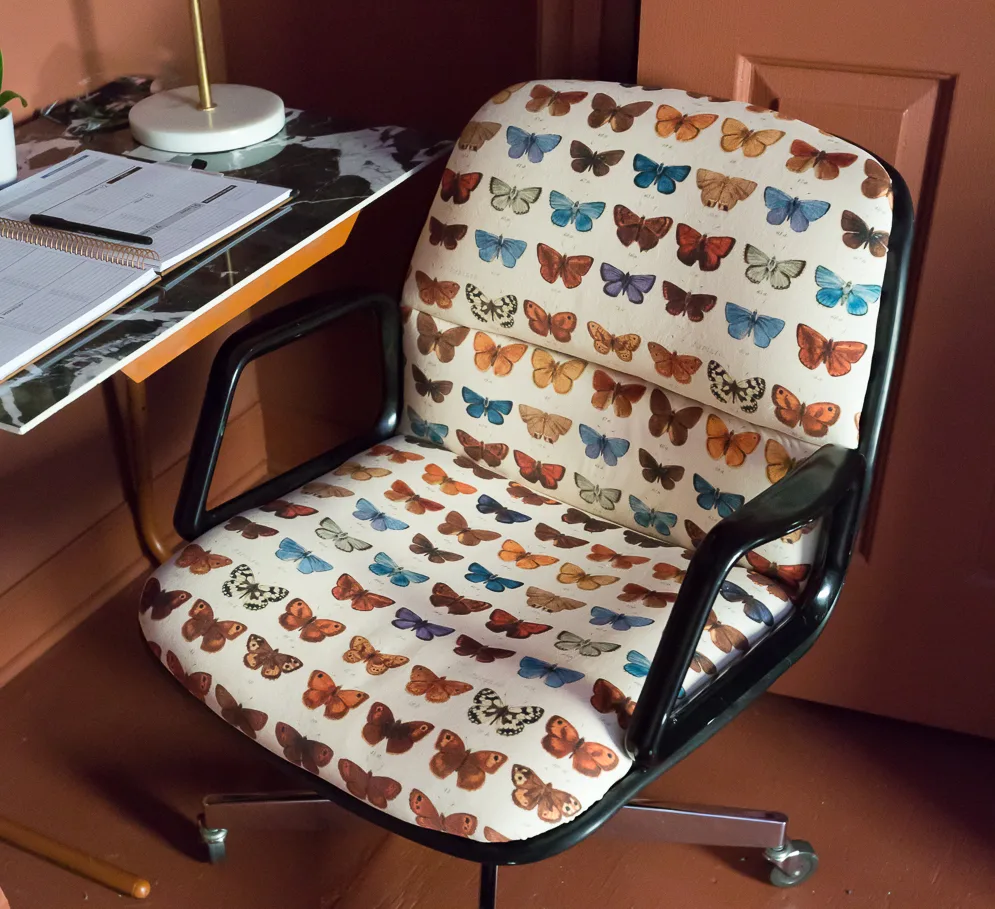
Jewel: I fell in love with peacoquettedesigns’ Papillo ~ Trianon Cream ~ Large print and was excited to try it out on Spoonflower’s Performance Velvet for my chair project. It was also easy to work with while reupholstering. It comes in a 54″ (137 cm) width, has a little stretch and a very soft hand.Spoonflower offers seven different upholstery fabrics. Find the perfect choice for your next project >>>
Recycled Canvas
Woven canvas featuring REPREVE® recycled polyesterPerformance Linen
High-end linen fabric look with the easy-care qualities of polyesterCypress Cotton Canvas
Sophisticated basketweave texture that offers lived-in luxuryBelgian Linen™
Medium-weight linen fabric with a beautifully textured surfaceCelosia Velvet®
Luxurious fabric with a short pile and elegant shimmerPerformance Velvet
Super-soft and durable matte velvetDogwood Denim®
A rugged, sturdy and downright durable cotton drillWhy I chose to reupholster a drop-seat chair
DIY reupholstery is not only fun, but it can be empowering. Because once you’re armed with a few basic upholstery skills, the next time you see an old chair that needs a little love, you’ll be able to give it a second chance at life more quickly and at a much cheaper price than you might think! Plus, the ability to customize furniture leads to creating unique and gorgeous rooms. One of the easiest reupholstery projects out there is a drop-seat chair, which usually involves a removable seat on a dining room chair. The beauty of a drop-seat chair’s construction is that all of the stapling you’ll have to do is hidden underneath or behind the frame. This particular project involved removing three pieces of upholstery, lining up the fabric on each piece, then stapling underneath one piece and behind the other two pieces. So while this looks more complicated, it’s the same basic principle as reupholstering a drop-seat chair that only needs stapling underneath the frame.How do I estimate how much fabric I need?
My chair required two yards of fabric. I was able to determine that amount by measuring around the widest part of each piece of my chair from front to back and side to side. I kept in mind that I would need a little extra fabric for stapling and compared those numbers to the width of the fabric I would be using. The larger the chair, the more fabric needed, especially if upholstering more than one.Materials Needed
- Fabric to re-cover your chair with I’m using two yards of Papillo ~ Trianon Cream ~ Large by peacoquettedesigns in Performance Velvet
- Staple gun
- Scissors
- Staple remover or standard screwdriver plus pliers
- Iron (optional)
- New foam and batting (optional)
- For your staple gun, a manual gun is the least expensive option. A pneumatic stapler and pancake air compressor, however, are especially great for larger jobs.
- It’s always helpful to have the right tools for a job. DIY upholstery is no different. For any simple project, like this one, I generally rely on these basic tools.
Steps to reupholster your chair
Step 1. Take photos of what you're reupholstering
The very best advice I can give you during the “tear down” phase is to take pictures as you start to take apart any reupholstery project. In the end, you will reupholster the new fabric in the exact opposite order that you took it apart. There have been many times, especially while doing more complicated projects, where I was certain I would intuitively remember the order in which I was supposed to put the fabric back on. Unfortunately, I was sometimes wrong.

Step 2. Dissect and tear down the chair
Luckily, for a drop-seat chair, the order in which it’s disassembled is often quite simple. On this mid-century modern office chair, the only tricky part was remembering which direction the legs went back onto the frame. I used a socket wrench to undo the screws on the underside. Then I used a screwdriver to work up under the rubber banding. Under this banding were hidden screws that needed to be removed. Once unscrewed, the plastic backing came right off of the front upholstery piece. In this situation, I wanted to keep it nice and simple and did not remove the old fabric. Technically, however, a professional upholsterer would remove all old fabric, and often replace the old foam and batting involved in a chair project. Removing the old fabric is especially important if your drop seat fits inside the frame of an old wooden chair. Extra bulky fabric puts pressure on the joints of the chair and can eventually make it wobbly and unstable. Take note of how the corners of your chair pieces have been stapled to the underside of the chair. This will come in handy later!
Step 3. Straighten and cut your fabric
Once you’ve dissected the chair, it’s time to plan the layout of the fabric. Think about the pattern printed on the fabric. Unless you’re going for an asymmetrical look, find a center section of your fabric that will make your upholstery job look symmetrical. That center section of the fabric is what you’ll want to line up with the center of the chair piece you’re upholstering. Once you’re extremely confident that you have a plan for where each piece needs to be cut from, you can either use your old fabric as a pattern or drape the new fabric over the upholstery piece. Next, straighten out the fabric, then cut. However, as they say, measure twice and cut once!
Step 4. Start stapling the fabric
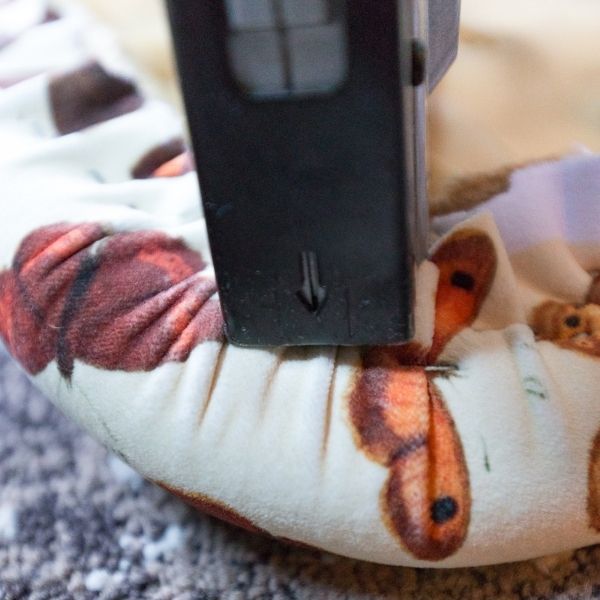
Time for the fun part! First, line up the center of the fabric to the center of the chair piece you’re reupholstering. Holding the fabric in place where you want it to be, turn everything upside down (or flip it over, depending on the type of piece you’re working with) so you can staple the fabric securely to the back side. Next, staple one to two staples in the center of each side of the fabric on the back side. Refer to the diagram below for where to staple when. As you’re stapling, make sure to pull the fabric nice and snug, and to use your hand to smooth out any extra slack. With each staple, be sure to double check that your fabric is still centered, both front to back and side to side. Once you have a couple of staples anchoring all four sides of your fabric, it’s time to slowly start working towards the corners. A common beginner’s mistake is to sink staples down one side of the piece, but this results in off-centered fabric. Instead, it’s better to sink a couple of staples on each side, check for centering, pull gently (but firmly) and then move to the other side. Keep this rotation process until you get to the corners.The order in which to staple your upholstery
In order to get your fabric stapled evenly, follow this diagram in numerical order.
Step 5. Staple the fabric corners
There are several ways to staple down a corner, so refer back to your original images to see how the chair was originally upholstered. Need some extra help? This post goes over some examples of a few types of corners and tricky areas.

Step 6. Trim excess fabric
Once you’re done stapling your pieces of fabric to the chair, trim off any excess fabric.Step 7. Repeat steps 3-6 with each chair piece
Once you’re finished reupholstering one part of the chair, it’s on to the next part! Repeat steps 3-6 with the other parts of your chair.Step 8. Reassemble the chair
Now it’s time to put everything back together! As you do so, don’t forget to reference the photos you took earlier of how your chair should look when it’s reassembled.
Enjoy your new chair!
Congrats! Your project is now complete. Pat yourself on the back and take a seat. Whether you reupholstered a chair, a seat cushion or other piece of furniture, you brought new life to your well-loved piece. Don’t forget to share your project with your world and ours by tagging #Spoonflower on our social channels.
Check out my other upholstery projects with the help of Spoonflower!
Piano Bench
Featured design: TRIANGULOS – Green and Ivory by marcador Featured design: Mid-Century Clementines on Sandy Beige by erin__kendal Featured design: Enchanted Bunny Prince by nouveau_bohemianMade to order using unique designs from artists worldwide.
The World’s Largest Design Library for Wallpaper and Textiles
Discover a world of design—from minimalist to maximalist. Thousands of global artists, with new styles added constantly.
Custom Designs on Any Item
Our made-to-order model lets you print any design on any material. Coordinate patterns across rooms for a cohesive, personalized home.
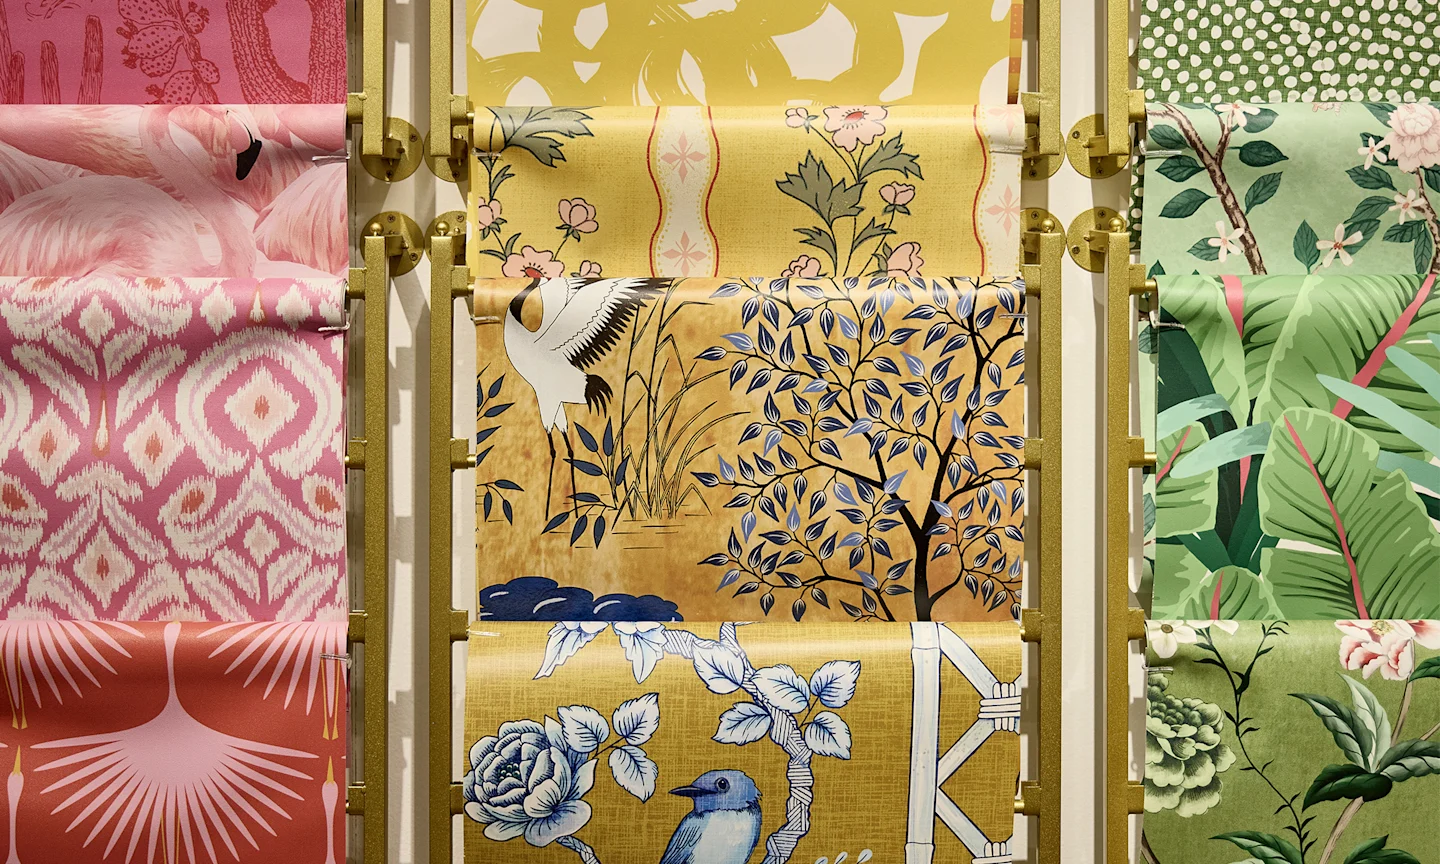
Premium Materials, Always in Stock
Trusted by pros and enthusiasts, our responsibly sourced textiles and papers offer the perfect finish—from smooth to textured, delicate to durable.
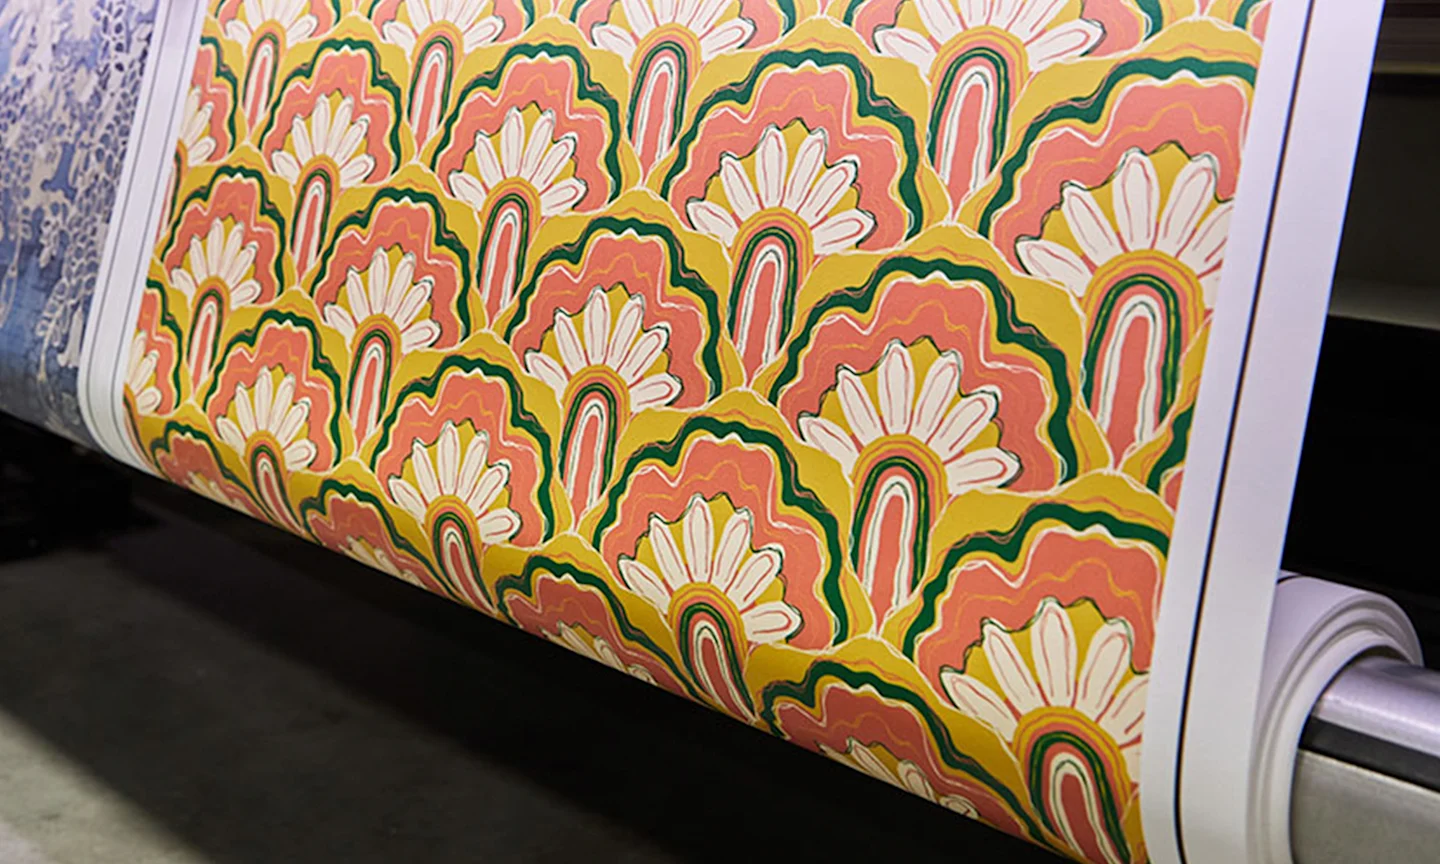
Printed on Demand in the USA
Our print-on-demand model lets you choose your design, material, and quantity—minimizing waste with non-toxic inks and reduced packaging.